





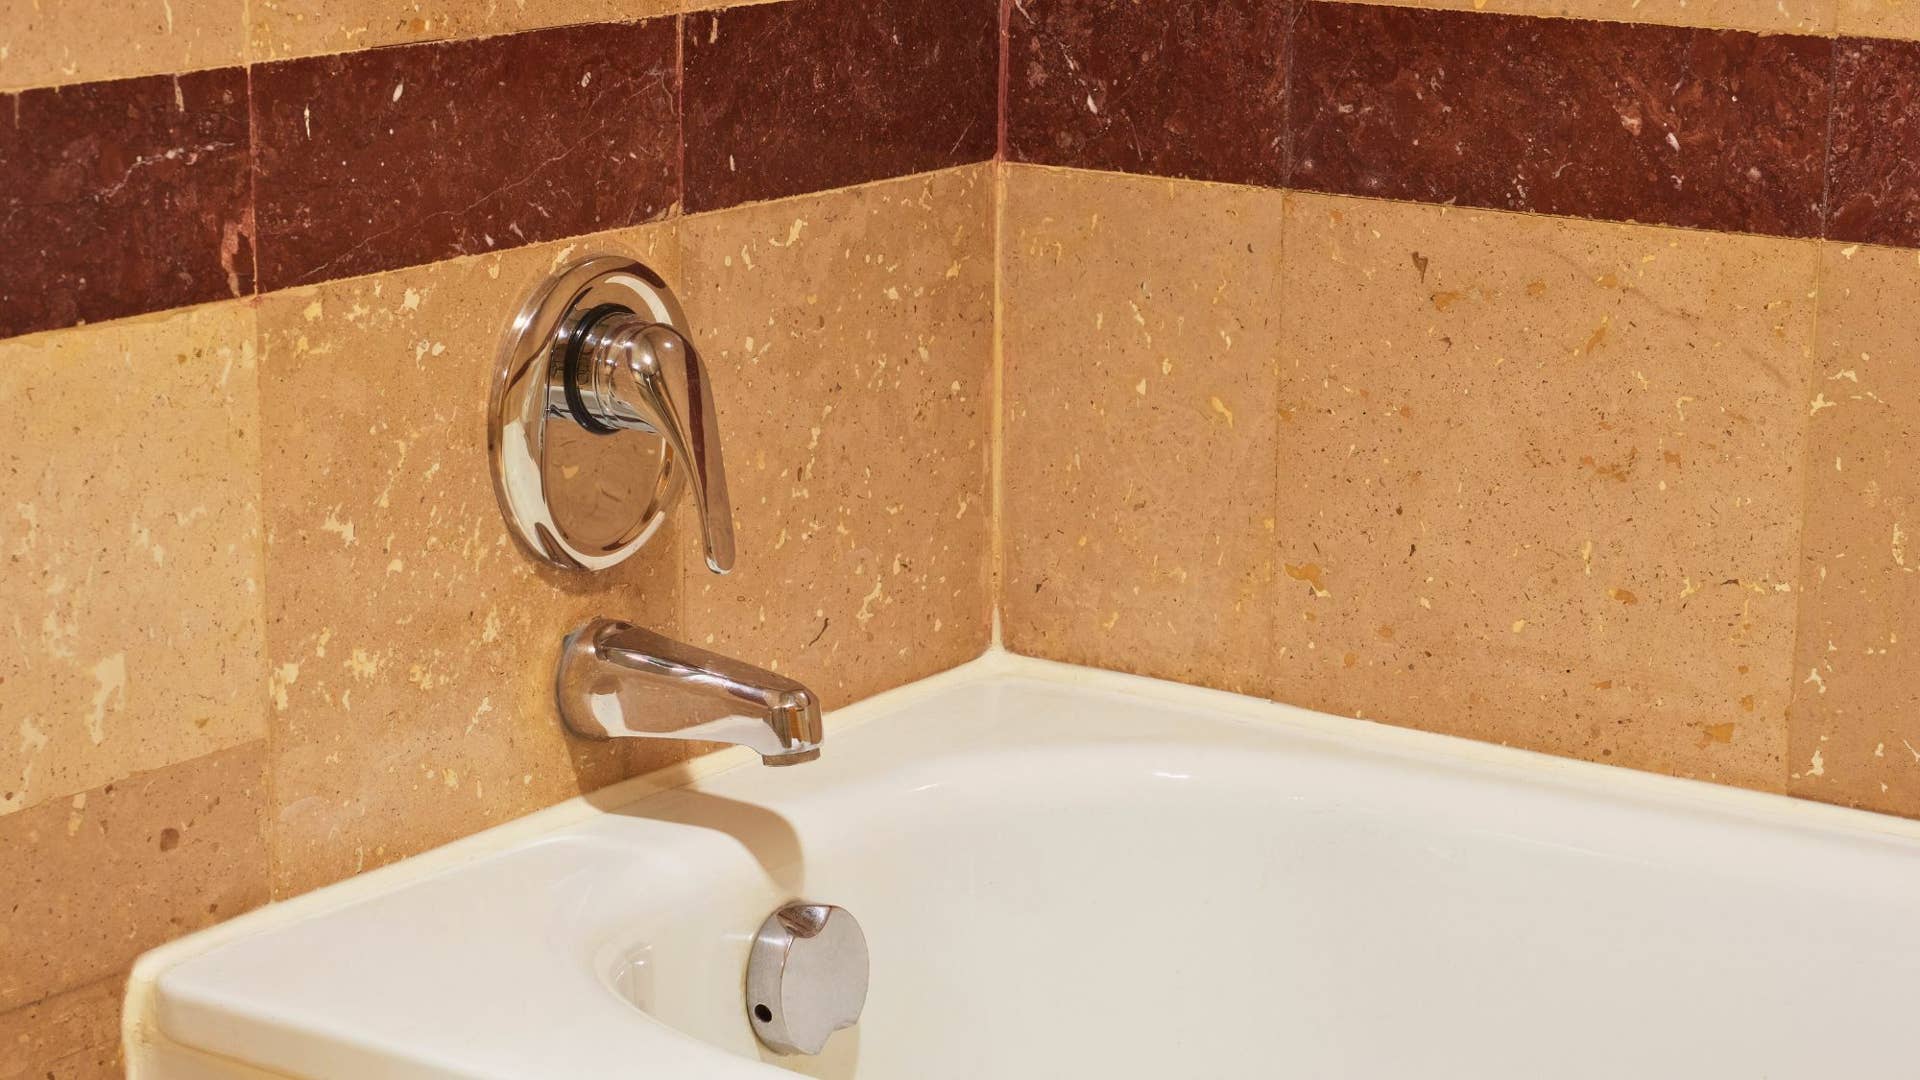
Are you tired of dealing with a dripping or outdated garden tub faucet? Changing it yourself might seem tricky, but it’s easier than you think.
Imagine saving money and gaining the satisfaction of fixing it on your own. In this guide, you’ll discover simple, step-by-step instructions that anyone can follow. By the end, your garden tub will look fresh and work perfectly. Ready to get started?
Let’s dive in and make your bathroom feel brand new.
Credit: dengarden.com
Tools And Materials Needed
Changing a garden tub faucet needs some basic tools and parts. Getting these ready will make the job easier and faster.
This guide lists the main tools and materials you should have before starting. Make sure everything is on hand to avoid interruptions.
Tools
- Adjustable wrench for loosening and tightening nuts
- Screwdriver set including flathead and Phillips
- Plumber’s tape to seal threaded connections
- Pliers for gripping and turning small parts
- Bucket to catch water during removal
- Rag or towel to clean up spills
Materials
You will need the correct replacement faucet and some plumbing supplies. Check your tub model to match parts properly.
| Material | Description |
| Garden tub faucet | New faucet matching your tub’s style and size |
| Plumber’s tape | Used to prevent leaks on threaded joints |
| Silicone sealant | For waterproof sealing around the faucet base |
| Replacement washers | To fix or prevent leaks inside the faucet |
Safety Gear
Protect yourself with basic safety gear. It keeps you safe and comfortable during the work.
- Work gloves to protect your hands
- Safety glasses to guard your eyes from splashes
- Knee pads if you work on the floor a lot

Credit: www.angi.com
Turn Off Water Supply
Before changing a garden tub faucet, you must turn off the water supply. This step stops water from flowing while you work.
Turning off the water prevents leaks and water damage in your bathroom or yard.
Locate The Main Water Valve
Find the main water valve that controls water to your home. It is often near the water meter or where the main pipe enters the house.
Turning off this valve stops all water flow, including the garden tub faucet.
Turn Off The Valve Slowly
Turn the valve handle slowly clockwise to shut off the water. Closing it too fast can cause pressure changes.
Make sure the valve is fully closed before starting work on the faucet.
Drain Remaining Water
Open the garden tub faucet to drain any water left in the pipes. This step stops water from leaking when you remove the faucet.
- Open both hot and cold taps
- Let water flow until it stops
- Close the taps before starting work
Check For Other Shutoff Valves
Look for local shutoff valves near the garden tub. These valves control water only to the tub and save you from shutting off the whole house.
If found, turn these valves off first to stop water flow to the garden tub faucet.
Remove The Old Faucet
Removing an old garden tub faucet is the first step to installing a new one. You need to take care not to damage the plumbing.
This guide will help you safely remove the old faucet with simple steps.
Access The Faucet Area
Turn off the water supply to the garden tub before starting. This prevents water leaks and messes.
Remove any panels or covers near the tub to see the faucet connections clearly.
- Locate the shutoff valves and close them
- Use a flashlight to see behind panels
- Clear space to work comfortably
Loosen And Detach Faucet Components
Use a wrench to loosen the nuts that hold the faucet in place. Turn slowly to avoid breaking parts.
Detach all faucet components carefully. Keep track of small parts for reassembly or replacement.
- Loosen mounting nuts with a basin wrench
- Disconnect water supply lines
- Remove the faucet from the tub
- Set aside screws and washers safely

Credit: www.reddit.com
Prepare The Area For Installation
Before changing your garden tub faucet, get the area ready. This helps the installation go smoothly.
Cleaning and checking connections is important. It prevents leaks and ensures a good fit.
Clean The Faucet Mounting Surface
Remove any old caulk, dirt, or debris from the faucet mounting area. Use a putty knife or scraper carefully.
Wipe the surface with a clean cloth and mild cleaner. Make sure the area is dry before installing the new faucet.
Inspect Plumbing Connections
Check the water supply lines for any signs of damage or leaks. Look for cracks, corrosion, or loose fittings.
Tighten any loose connections. Replace damaged pipes or washers to avoid problems after installation.
Install The New Faucet
Installing a new garden tub faucet is an important step to complete your repair. You need to fit it correctly to avoid leaks and ensure good water flow.
This guide explains how to position the faucet and secure its parts properly.
Position The Faucet
Place the new faucet in the hole where the old one was removed. Make sure it aligns with the water supply pipes behind the wall.
Check that the faucet sits flush against the tub surface. This helps prevent water from leaking behind the tub.
- Hold the faucet tightly in place
- Match the faucet connections with supply lines
- Ensure the faucet face is level and flat
Secure Faucet Components
Once the faucet is positioned, tighten the mounting nuts or screws to hold it firmly. Use a wrench but avoid over-tightening.
Attach all supply lines to the faucet. Check for washers or seals to prevent leaks. Tighten each connection by hand then with a wrench.
- Use plumber’s tape on threaded parts
- Hand-tighten first, then use a wrench
- Check all connections for a secure fit
Check For Leaks
Checking for leaks is an important part of changing a garden tub faucet. Leaks can cause water damage and waste water.
Finding leaks early helps you fix problems before they get worse. Here are some key points to check.
Inspect Faucet Connections
Look closely at where the faucet connects to the water pipes. These spots can leak if not tight or sealed well.
Use a dry cloth to wipe around the connections. Then turn on the water slowly and watch for drips.
- Check for water drops or wet spots
- Feel for moisture with your fingers
- Tighten connections if needed
Examine Faucet Body
Look over the faucet itself for cracks or worn parts. These can cause leaks inside or outside the tub.
Turn the faucet on and off while watching carefully for leaks from the faucet body or handles.
- Check around the base of the faucet
- Look for water near the handles
- Listen for dripping sounds
Check Water Supply Lines
Inspect the water supply lines under the tub. These flexible tubes often leak where they connect.
Look for rust, cracks, or wet spots on the lines. Tighten or replace them if you find leaks.
- Look under the tub for water stains
- Feel the supply lines for moisture
- Replace old or damaged lines
Test Drain Area For Leaks
Turn on the faucet and fill the tub with water. Watch the drain area closely for leaks or drips.
Leaks here can cause water damage under the tub or on the floor. Fix any leaks quickly.
- Check around the drain pipe
- Look under the tub for drips
- Seal or tighten drain parts if needed
Tips For Maintaining Your Garden Tub Faucet
Keeping your garden tub faucet in good shape helps it last longer. Regular care stops leaks and other problems.
Simple maintenance saves money and keeps your tub working well. Follow these tips to protect your faucet.
Clean The Faucet Regularly
Dirt and mineral buildup can block water flow. Clean the faucet surface often with a soft cloth.
Use mild soap and water to remove grime. Avoid harsh chemicals that can damage the finish.
Look for drips or puddles around the faucet. Leaks waste water and can cause damage.
Fix small leaks early by tightening connections. Replace worn parts if needed to stop leaks.
Replace Worn Washers And Seals
Washers and seals wear out over time. Old parts cause leaks and reduce faucet performance.
Check these parts every few months. Replace them to keep your faucet working smoothly.
Avoid Using Excessive Force
Turn faucet handles gently. Forcing them can break internal parts or cause leaks.
If the faucet is hard to turn, inspect and fix the cause. Do not force the handle.
Protect From Freezing Temperatures
Freezing water can crack your faucet and pipes. Drain the faucet if winter is coming.
Use faucet covers or insulation to protect it in cold weather. This prevents damage and leaks.
Inspect Faucet Connections
Check the connections under the tub for rust or looseness. Loose parts can cause leaks and water damage.
Tighten any loose fittings and replace rusty parts. Regular checks keep the faucet secure and safe.
Frequently Asked Questions
How Do You Remove A Garden Tub Faucet?
To remove a garden tub faucet, first turn off the water supply. Then, use a wrench to loosen and remove the faucet nuts. Carefully detach the faucet from the tub. If it’s stuck, gently use a putty knife to help pry it off.
What Tools Are Needed To Change A Faucet?
You’ll need a wrench, screwdriver, and plumber’s tape. A putty knife may help with stuck fixtures. These tools will assist in loosening and securing faucet parts, ensuring a smooth installation process.
How Long Does It Take To Change A Faucet?
Changing a garden tub faucet typically takes about 1 to 2 hours. This time includes removing the old faucet and installing the new one. Complexity of the faucet design may affect the total time required.
Can I Change A Faucet Without A Plumber?
Yes, you can change a faucet without a plumber. With the right tools and instructions, it’s a manageable DIY task. Ensure to follow all safety precautions and instructions carefully for a successful installation.
Conclusion
Changing a garden tub faucet can save money and time. You only need basic tools and a little patience. Follow the steps carefully to avoid leaks or damage. Taking your time helps ensure a good fit and smooth water flow.
A new faucet improves your tub’s look and function. You can enjoy a fresh, clean bathroom without calling a plumber. Small repairs like this build your confidence with home projects. Try it yourself and see how easy it can be.
Simple tasks bring big rewards.