
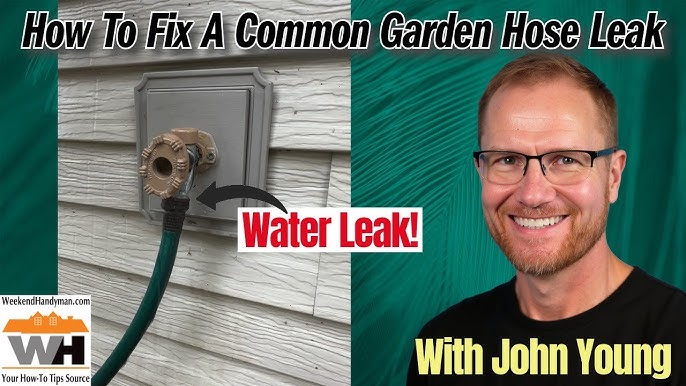


Is your garden hose end leaking or broken? It can be frustrating when your hose won’t connect properly or sprays water everywhere.
But don’t worry—you don’t need to buy a new hose or call a plumber. Fixing your garden hose end is easier than you think, and you can do it yourself in just a few simple steps. Keep reading, and you’ll learn how to stop leaks, tighten connections, and get your hose working like new again.
Your garden will thank you!
Credit: www.amazon.com
Common Hose End Issues
Garden hoses often have problems at their ends. These issues cause water leaks and reduce hose life.
Fixing hose end problems helps keep your garden healthy and saves water.
Leaking Connections
Leaking connections happen when the hose end does not fit tightly. Water sprays out and wastes water.
Check the washer inside the connector. If it is old or missing, replace it to stop leaks.
- Turn off water before fixing
- Remove the hose end carefully
- Replace or adjust the rubber washer
- Tighten the connection by hand, then slightly with a wrench
Cracked Or Damaged Ends
Cracks or breaks in the hose end let water escape and weaken the hose.
Inspect hose ends for cracks before use. Replace damaged parts to avoid leaks.
- Cut off the damaged end with a sharp knife
- Attach a new hose connector or end piece
- Secure tightly with clamps or screws
- Test for leaks after repair
Loose Fittings
Loose fittings cause water to drip or spray. They also make the hose unstable.
Tighten fittings by hand or use pliers carefully. Do not overtighten to avoid damage.
- Check hose end and faucet threads
- Clean threads to remove dirt
- Tighten the connection slowly
- Use plumber’s tape if threads are worn

Credit: www.walmart.com
Tools And Materials Needed
Fixing a garden hose end is easier with the right tools and materials. Having what you need saves time and effort.
Below are essential tools and replacement parts to prepare before starting the repair.
Essential Repair Tools
Use these tools to remove, cut, and tighten the hose end for a secure fix.
- Adjustable wrench for loosening and tightening fittings
- Utility knife or hose cutter for clean cuts
- Pliers to grip small parts firmly
- Screwdriver for hose clamps or threaded fittings
- Tape measure to check hose and part sizes
Replacement Parts
Choose the correct parts to match your hose and fix leaks or broken ends.
| Part | Description | Purpose |
|---|---|---|
| Hose end connector | Metal or plastic fitting | Attaches to hose for water flow |
| Rubber washer | Flat ring seal | Prevents leaks at connection |
| Hose clamp | Adjustable metal band | Secures hose to connector |
| Thread seal tape | Thin white tape | Seals threaded joints |
Preparing The Hose For Repair
Fixing a garden hose end starts with good preparation. Getting the hose ready makes the repair easier and stronger.
This guide shows how to prepare the hose by draining water and cleaning the hose end.
Draining The Hose
Remove all water inside the hose before fixing the end. Water can block your work and cause leaks later.
To drain the hose, hold one end down and lift the other end. Let the water flow out until empty.
- Disconnect the hose from the faucet.
- Lift the hose from one end to let water flow out.
- Keep holding it until no water comes out.
- Lay the hose flat to dry if possible.
Cleaning The Hose End
Clean the hose end to remove dirt, old tape, and debris. This helps the new fitting attach tightly.
Use a cloth or brush to wipe the hose end. Check inside the hose for any blockages or damage.
- Remove old hose clamps or fittings if present.
- Wipe the outside and inside of the hose end.
- Use water and mild soap if the dirt is stubborn.
- Dry the hose end before starting the repair.
Fixing Leaks And Cracks
Garden hoses often develop leaks or cracks. Fixing these issues can save water and extend the hose’s life. Use simple methods that do not require special tools.
Two common ways to fix leaks are using tape and sealants or applying epoxy or glue. Each method works well for different types of damage.
Using Tape And Sealants
Tape and sealants are easy and quick to apply. They work best on small leaks or cracks near the hose end. Clean the area before applying tape or sealant.
- Dry the damaged part completely.
- Wrap waterproof tape tightly around the leak.
- For better results, cover the tape with hose repair sealant.
- Let the sealant dry as instructed on the package.
- Test the hose by turning on the water slowly.
Applying Epoxy Or Glue
Epoxy and glue create a strong bond to seal cracks. Use these for bigger leaks or broken hose ends. Follow safety instructions when handling these substances.
| Material | Use For | Drying Time |
| Epoxy Putty | Large cracks and holes | 5 to 10 minutes |
| Super Glue | Small cracks near fittings | 1 to 2 minutes |
| Plastic Cement | Plastic hose ends | 10 to 15 minutes |
Clean and dry the hose end. Mix epoxy putty if needed. Press it firmly into the crack or broken area. Hold the parts together while drying. Avoid using the hose until fully set.
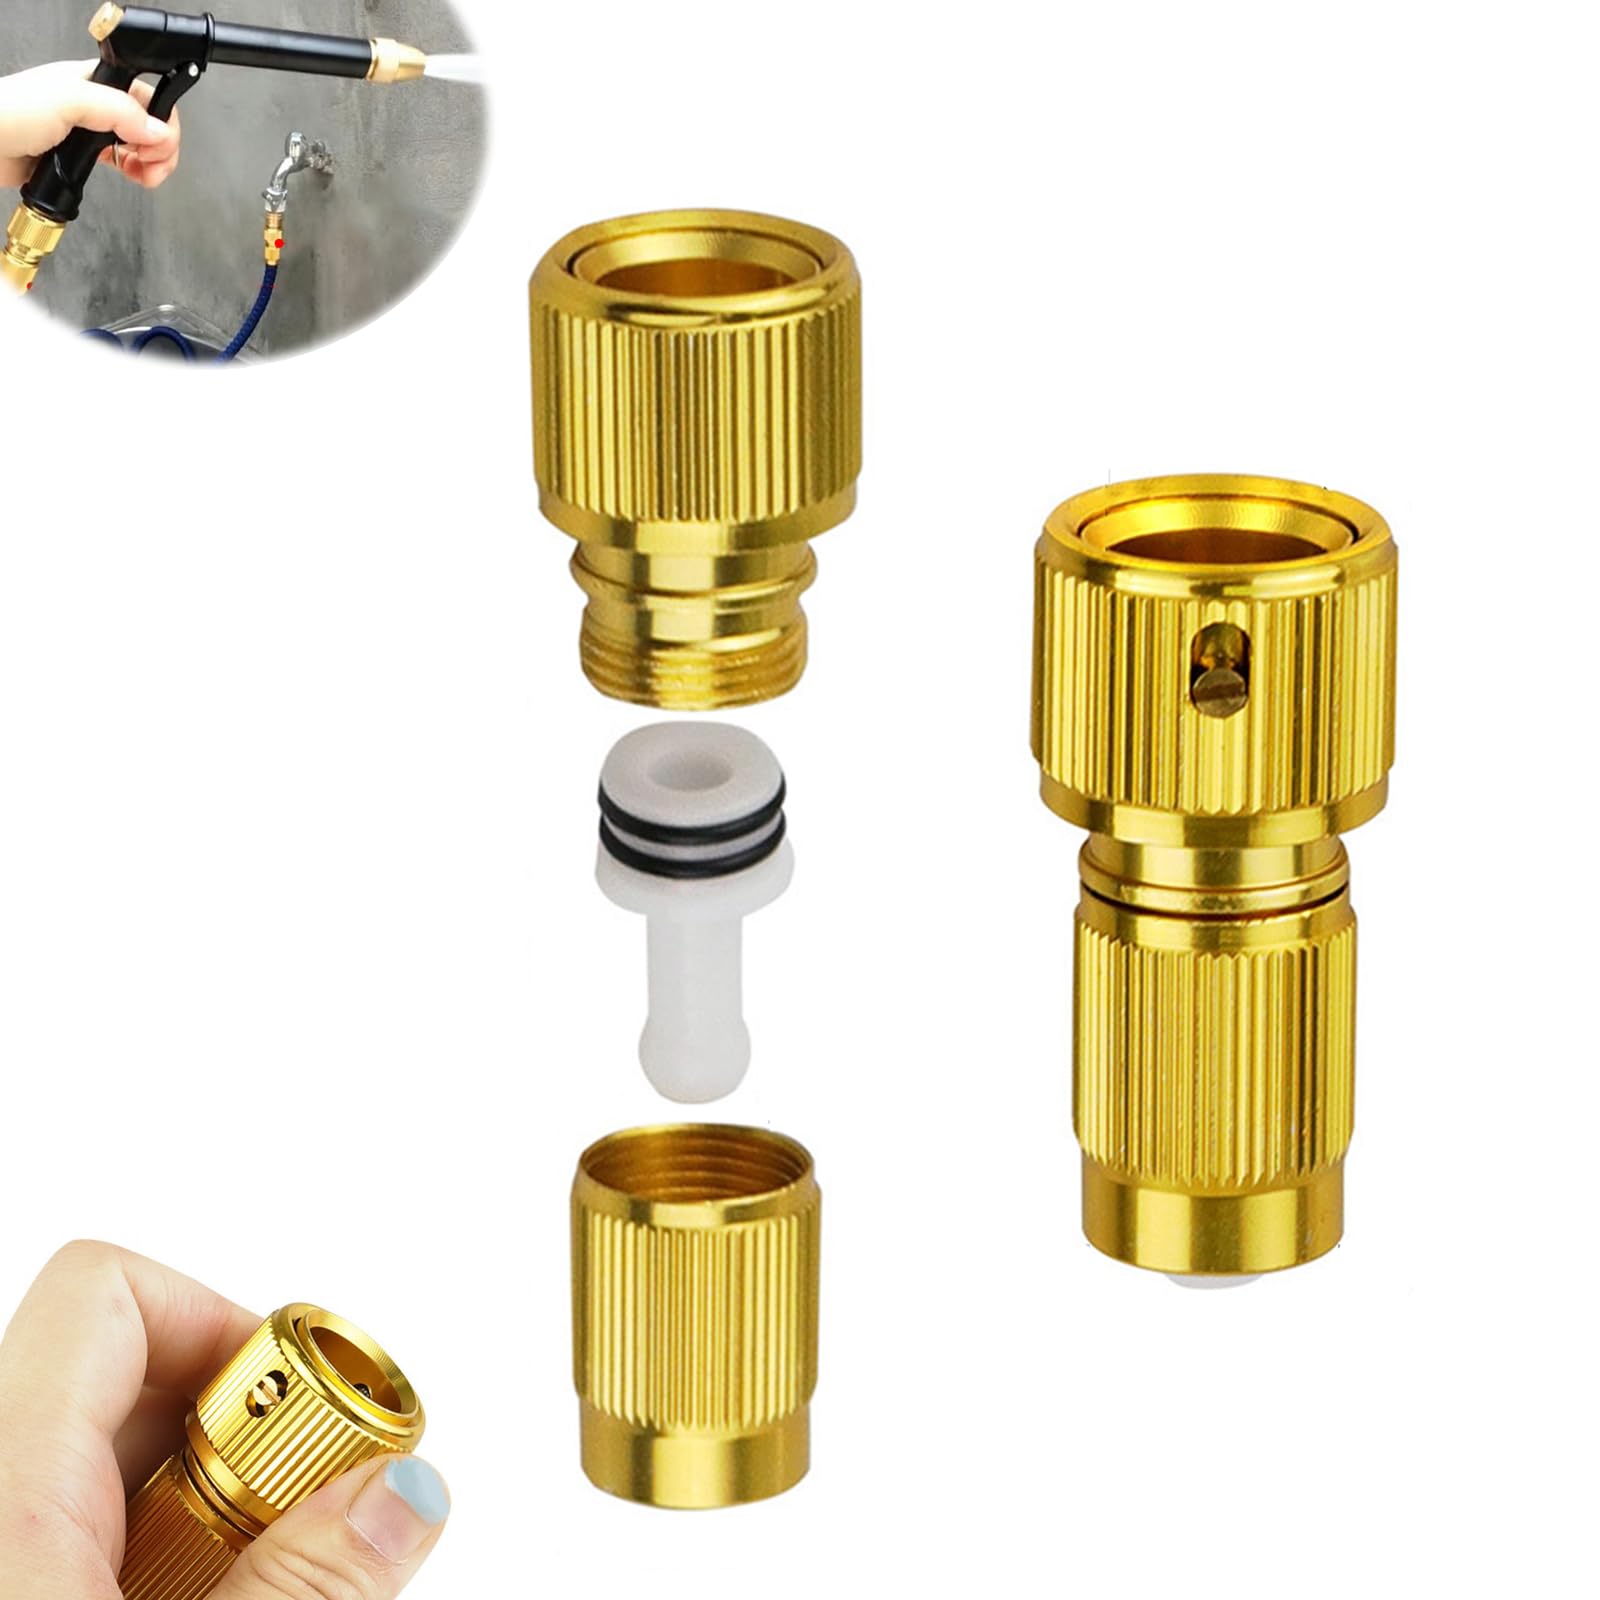
Replacing The Hose End
Replacing a garden hose end keeps your hose working well. A worn or broken fitting can cause leaks.
This guide explains how to remove the old fitting and attach a new hose end.
Removing The Old Fitting
Start by cutting off the old hose end if it is damaged or stuck. Use a sharp knife or hose cutter for a clean cut.
- Turn off the water supply and drain the hose.
- Cut the hose straight across where the old fitting is.
- Remove any pieces of the old fitting left inside the hose.
- Clean the hose end to remove dirt or debris.
Attaching The New End
Choose a new hose end that fits your hose size. Follow these steps to attach it securely.
| Tool | Purpose |
|---|---|
| Hose Cutter | To cut the hose cleanly |
| Screwdriver | To tighten clamps if needed |
| New Hose End | Replacement fitting for the hose |
| Lubricant (optional) | Helps slide the fitting into the hose |
- Slide the clamp over the hose end.
- Push the new hose end inside the hose firmly.
- Position the clamp near the hose end.
- Tighten the clamp with a screwdriver until secure.
- Check for leaks by turning on the water slowly.
Securing Hose Fittings
Fixing a garden hose end means making sure the fittings stay tight. Loose fittings cause leaks and waste water.
Securing hose fittings properly keeps your hose working well for a long time. Use simple tools and parts to do this.
Tightening Techniques
Start by hand-tightening the hose fitting. Then use a wrench to make it snug. Avoid over-tightening to prevent damage.
- Turn the fitting clockwise to tighten.
- Use a wrench for extra grip.
- Stop when it feels firm but not forced.
Using Clamps And Connectors
Clamps and connectors add extra hold to hose ends. They stop leaks and keep the fitting secure.
| Type | Description | Use |
| Hose Clamp | Metal ring tightened by screw | Wrap around hose end for tight fit |
| Quick Connector | Plastic or metal clip | Connect hose to faucet or sprinkler quickly |
| Barbed Connector | Ribbed fitting inserted into hose | Creates a strong hold with a clamp |
Testing The Repair
After fixing your garden hose end, you need to test if it works well. Testing makes sure the repair is strong and no water leaks out.
This step is important to save water and keep your garden healthy. Let’s see how to check your repair.
Checking For Leaks
Turn on the water slowly and watch the hose end closely. Look for any drops or sprays of water outside the hose.
If you see water dripping or spraying, the repair might not be tight enough. Tighten the connection or try the repair again.
- Turn water on slowly
- Look for drips or sprays
- Tighten or redo repair if leaks appear
Ensuring Proper Water Flow
Check if water flows out smoothly from the hose end. The flow should be strong and steady without any blockage.
If water flow is weak or stops, clean the hose end or check for clogs. Make sure the hose is not twisted or bent.
- Watch water coming out of the hose
- Ensure flow is strong and steady
- Clear any blockages or twists
Maintenance Tips To Prevent Future Damage
Fixing a garden hose end is easy with the right care. Proper maintenance keeps your hose working longer.
Use simple habits to avoid damage. These tips help keep your hose end strong and leak-free.
Proper Storage
Store your garden hose in a dry place to stop rust and cracks. Avoid leaving it in the sun for long periods.
Use a hose reel or hanger to keep it off the ground. This stops kinks and bends that can break the hose end.
- Keep hose away from sharp objects
- Drain water before storing
- Store in a cool, shaded area
- Use hose reels or hooks
Regular Inspections
Check the hose end often for cracks, leaks, or loose fittings. Early fixes stop bigger problems later.
Look at the washers inside the hose end. Replace them if they are worn out or missing to prevent leaks.
- Inspect hose ends before use
- Replace damaged washers
- Tighten loose fittings
- Check for cracks or splits

Credit: www.familyhandyman.com
Frequently Asked Questions
How Do I Repair A Leaky Garden Hose End?
To repair a leaky garden hose end, first, cut off the damaged section. Attach a new hose coupling or repair kit. Ensure it fits securely and tighten the clamps. This simple fix can prevent leaks and improve water flow.
What Tools Do I Need To Fix A Hose End?
You’ll need a pair of scissors or a utility knife, a screwdriver, and a hose repair kit. These tools will help you efficiently cut, clamp, and secure the new hose end for a quick repair.
Can I Use A Hose Repair Kit For All Hose Types?
Yes, most hose repair kits are compatible with standard garden hoses. Check the kit’s specifications to ensure it fits your hose size. These kits offer an easy, cost-effective way to fix leaks and maintain your hose.
How Often Should I Check My Garden Hose Ends?
Check your garden hose ends at least once a season. Inspect for leaks, cracks, or damage to ensure optimal performance. Regular maintenance can extend the hose’s lifespan and prevent unexpected issues.
Conclusion
Fixing a garden hose end does not have to be hard. With the right tools and steps, anyone can do it. Check the hose and parts for damage first. Tighten or replace the hose end if needed. This saves water and keeps your garden healthy.
Small fixes can prevent big problems later. Take your time and follow simple instructions. Soon, your hose will work like new again. Keep your garden watering smoothly without extra cost or hassle. Simple repairs make a big difference in the long run.