


Is your garden hose leaking and wasting water every time you water your plants? A small drip might seem harmless, but over time, it can lead to frustration and higher water bills.
You don’t need to replace your entire hose or call a plumber to fix this. With a few simple steps, you can stop that leak quickly and easily. Keep reading, and you’ll learn how to save water, money, and the hassle of dealing with a faulty hose.
Your garden—and your wallet—will thank you!
Identify The Leak Source
Finding the source of a garden hose leak is key to fixing it. Leaks waste water and can damage your hose or plants.
Check the hose carefully to see where water escapes. This guide helps you find leaks in common areas.
Check Hose Connections
Start by inspecting where the hose connects to the faucet and any attachments. Loose or damaged connections often cause leaks.
- Turn off the water and disconnect the hose.
- Look for cracks or worn washers inside the connectors.
- Replace washers if they are cracked or missing.
- Tighten the connections by hand, avoid over-tightening.
- Reconnect and turn on the water to check for leaks.
Inspect Hose Length
Leaks can appear anywhere along the hose. Check the entire length for holes or splits.
| Type of Damage | Signs | How to Fix |
| Small Hole | Water sprays out in a stream | Use hose repair tape or patch kits |
| Large Split | Water gushes out freely | Cut out damaged part and reconnect hose ends |
| Cracks | Slow drip or seepage | Replace hose section or whole hose if severe |
Examine Sprayer And Attachments
Sprayers and other attachments can leak if seals or parts are worn out. Check these parts carefully.
Look for these common issues:
- Loose connection where the sprayer attaches to the hose
- Worn or missing rubber washers inside the sprayer
- Cracked sprayer body or nozzle
- Blocked or damaged trigger mechanism
Replace washers or cracked parts to stop leaks. Tighten connections securely but gently.

Credit: www.youtube.com
Gather Necessary Tools
Fixing a garden hose leak needs the right tools. Getting them ready saves time and effort.
Before you start, make sure you have everything you need. This will help the repair go smoothly.
List Of Repair Supplies
Gather these items to fix most garden hose leaks at home.
- Replacement washers
- Hose repair connectors
- Pipe tape (Teflon tape)
- Utility knife or scissors
- Adjustable wrench
- Rubber sealant or waterproof tape
- Bucket or container to catch water
Safety Precautions
Safety is important to avoid injury or damage during hose repair.
| Precaution | Reason |
| Turn off water supply | Prevents water spray and flooding |
| Wear gloves | Protects hands from sharp edges |
| Work in a dry area | Reduces risk of slipping |
| Use tools carefully | Avoids cuts and bruises |
| Check hose pressure | Ensures safe repair conditions |
Fix Small Punctures
Small punctures in garden hoses cause leaks and waste water. Fixing these holes quickly saves water and keeps your hose working well.
There are easy ways to stop leaks using simple materials. Two common fixes include using waterproof tape and hose repair tape.
Use Waterproof Tape
Waterproof tape can seal small holes on a garden hose. It blocks water from escaping and holds well under pressure.
Clean and dry the hose area before applying the tape. Wrap the tape tightly around the leak, covering it completely.
- Turn off water and drain hose
- Dry the damaged area thoroughly
- Wrap waterproof tape around the hole
- Press tape firmly for a tight seal
- Test by turning water back on
Apply Hose Repair Tape
Hose repair tape is designed to fix leaks and cracks on garden hoses. It sticks well and lasts longer than regular tape.
First, clean the hose and dry the area. Then wrap the repair tape around the puncture and press it down firmly.
- Shut off water and empty hose
- Remove dirt and moisture from hole
- Wrap hose repair tape over leak tightly
- Smooth tape to remove air bubbles
- Turn water on to check for leaks
Seal Larger Holes
Larger holes in a garden hose cause water to leak and reduce water pressure. Fixing these holes stops waste and keeps your hose working well.
Simple patches may not work on big holes. You need to cut and replace the damaged part or use a hose repair kit.
Cut And Replace Damaged Section
First, find the hole and mark it. Use a sharp knife or scissors to cut out the damaged part of the hose.
Make sure the cuts are straight. This helps the new section fit tightly and prevents leaks.
Insert a new piece of hose of the same size between the cut ends. Use hose connectors to join the sections.
- Cut out the hole with straight edges
- Use a new hose piece matching size
- Connect with hose connectors on both ends
- Tighten clamps to secure the connection
Use Hose Repair Kit
Hose repair kits have all parts needed to fix leaks. They include connectors, clamps, and seals.
Cut out the damaged section. Insert the hose ends into the repair kit connector. Tighten the clamps firmly.
- Cut the hose cleanly around the leak
- Insert both hose ends into the repair connector
- Tighten the clamps to stop leaks
- Test the hose by turning on the water
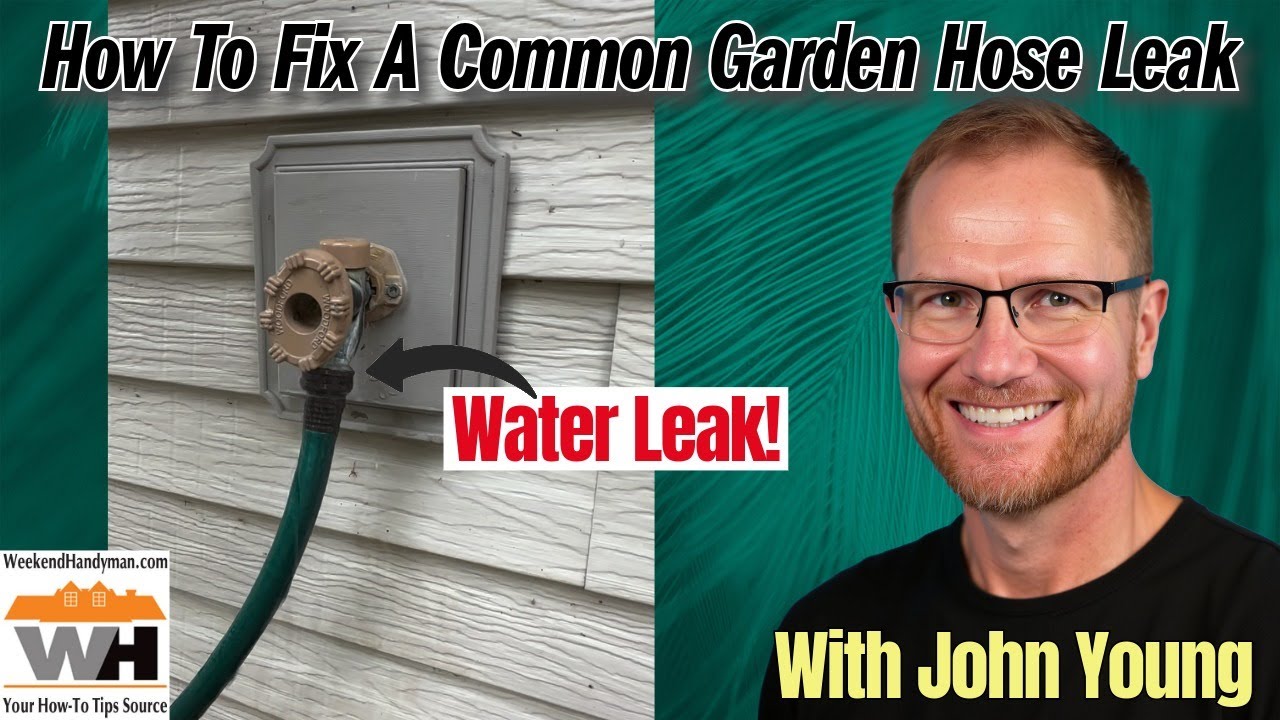
Tighten Loose Connections
A leaking garden hose often starts with loose connections. These loose parts let water escape, causing drips.
Fixing leaks is easy if you check and tighten the hose parts. This stops water waste and keeps your hose working well.
Replace Washers
Washers create a seal between hose parts. Old washers can crack or wear out, causing leaks.
Remove the hose end and check the washer inside. If it looks worn or broken, replace it with a new one.
- Turn off the water supply
- Unscrew the hose end
- Take out the old washer
- Insert a new washer that fits well
- Screw the hose end back tightly
Secure Couplings
Couplings join hose sections or attach hoses to faucets. Loose couplings cause leaks at connection points.
Check all coupling connections and tighten them by hand or with pliers. Do not overtighten to avoid damage.
- Turn off water before adjusting
- Hold the hose firmly
- Use pliers for extra grip if needed
- Turn the coupling clockwise to tighten
- Test the hose for leaks after tightening

Credit: www.familyhandyman.com
Prevent Future Leaks
Fixing a garden hose leak stops water waste and keeps your garden healthy. To avoid leaks, take care of your hose after each use.
Proper storage and regular checks help your hose last longer and work better.
Proper Hose Storage
Store your garden hose in a cool, dry place away from sunlight. This prevents damage from UV rays and heat.
- Use a hose reel or hanger to keep the hose off the ground.
- Drain water from the hose before storing to avoid freezing and cracking.
- Keep the hose away from sharp objects and chemicals.
- Coil the hose loosely to prevent kinks and bends.
Regular Maintenance Tips
Check your hose often for signs of wear or damage. Fix small problems early to stop leaks from growing.
| Maintenance Task | How Often | Why It Matters |
| Inspect for cracks or holes | Weekly | Find leaks before they get worse |
| Clean hose connectors | Monthly | Prevent rust and ensure tight seals |
| Replace worn washers | Every 3 months | Stop drips at connection points |
| Flush hose with water | After every season | Remove dirt and debris inside |

Credit: www.familyhandyman.com
Frequently Asked Questions
How To Identify A Garden Hose Leak?
To identify a garden hose leak, check for wet spots or water spraying. Run water through the hose and observe carefully. Look for any unusual bulges or weak spots. Inspect the connectors and fittings for drips. Listen for hissing sounds, which indicate a leak.
Can I Fix A Hose Leak With Tape?
Yes, you can fix small hose leaks with waterproof tape. Clean the hose surface thoroughly before applying. Wrap the tape tightly around the leak area. Ensure the tape overlaps itself to create a strong seal. This is a temporary solution.
Consider replacing the hose for a permanent fix.
What Tools Do I Need For Hose Repair?
You need a utility knife, hose repair kit, and screwdriver for hose repair. A pair of scissors may also be helpful. For larger leaks, consider having waterproof tape handy. Ensure you have pliers for tightening connectors. Gather all tools before starting the repair process.
Is It Better To Repair Or Replace A Hose?
Repairing a small leak is cost-effective and easy. For extensive damage, replacing the hose is better. Consider the age and condition of the hose. If repairs are frequent, replacement might be more economical. A new hose ensures better performance and longevity.
Conclusion
Fixing a garden hose leak saves water and money. Small leaks cause big problems over time. Tighten connections or replace worn parts to stop leaks. Use tape or sealant for quick fixes. Check your hose often to catch leaks early.
A working hose helps your garden grow healthy. Keep tools ready for easy repairs anytime. Enjoy watering without worrying about waste or mess. Taking simple steps keeps your hose reliable and long-lasting.