

Are you tired of running back and forth between your kitchen and garden to water your plants? What if you could easily connect your garden hose right to your kitchen faucet?
It sounds simple, but many people don’t know how to do it correctly. You’ll discover step-by-step how to attach a garden hose to your kitchen faucet quickly and safely. By the end, you’ll save time, avoid leaks, and keep your plants happy without any hassle.
Ready to make your watering routine easier? Let’s dive in!
Choose The Right Connector
Connecting a garden hose to your kitchen faucet needs the right connector. The correct connector stops leaks and fits well.
Choosing the right connector depends on your faucet type and the adapter you select. This guide helps you pick both.
Identify Faucet Type
First, look at your kitchen faucet. You must know its shape and size to find the right connector.
Common faucet types include threaded, pull-out, and standard spouts. Each needs a different adapter.
- Threaded faucet has visible screw threads on the spout
- Pull-out faucet has a spray head you can pull out
- Standard spout has no threads and a smooth end
Select Compatible Adapter
Next, pick an adapter that fits your faucet type. The adapter connects the hose to the faucet securely.
Adapters come in different sizes and materials. Choose one that matches your faucet and hose size.
- Threaded faucets need a female-to-male threaded adapter
- Pull-out faucets require a clamp or universal adapter
- Standard spouts often use a slip-on adapter with a clamp
- Adapters can be made of plastic, brass, or stainless steel
Credit: www.amazon.com
Gather Necessary Tools
Attaching a garden hose to a kitchen faucet needs a few tools. Getting them ready will save time. It helps the process go smoothly and without trouble.
This guide covers the items you need and how to prepare your workspace. Follow each step carefully for the best result.
List Essential Items
Before starting, gather all parts and tools. Having everything on hand avoids delays and frustration.
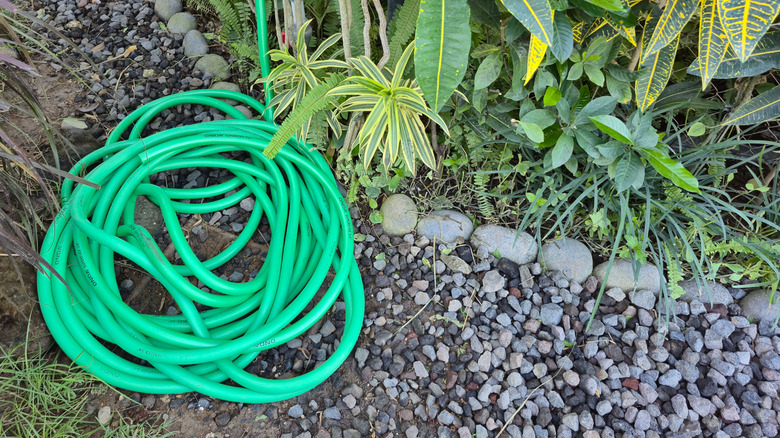
- Garden hose with a threaded end
- Faucet adapter or hose connector
- Adjustable wrench or pliers
- Teflon tape to seal threads
- Bucket or towel for water spills
- Optional: Hose splitter if using multiple hoses
Prepare Workspace
Clear the area around your kitchen faucet. A clean workspace prevents accidents and keeps tools within reach.
| Task | Details |
| Clear sink area | Remove dishes and clean surface |
| Lay down towel | Catch drips and protect countertop |
| Place tools nearby | Keep wrench, tape, and hose close |
| Turn off water | Shut faucet to avoid water flow |
Turn Off Water Supply
Before attaching a garden hose to your kitchen faucet, you must turn off the water supply. This step stops water flow and prevents spills or leaks during installation.
Turning off the water supply also protects your faucet and hose from damage. Follow these simple instructions to do it safely.
Locate The Water Shut-off Valve
Find the shut-off valve under your kitchen sink. It controls the water supply to the faucet. The valve usually looks like a small round or oval handle or a lever.
Close The Valve Slowly
Turn the shut-off valve clockwise to close it. Do this slowly to avoid damaging the valve or pipes. Stop turning when you feel resistance.
- Use your hand to turn the valve.
- If the valve is stuck, use a wrench gently.
- Do not force it to prevent breaks.
Test The Water Supply
Open the kitchen faucet to check if the water is off. If no water flows, the valve is fully closed. If water still comes out, close the valve more.

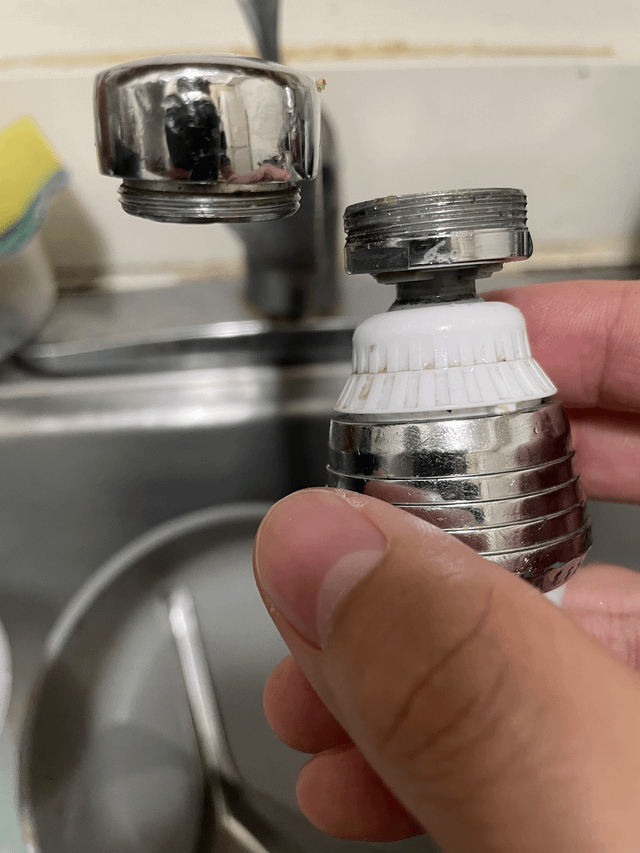
Credit: www.reddit.com
Attach Adapter To Faucet
Connecting a garden hose to a kitchen faucet needs a proper adapter. This guide helps you attach the adapter easily and securely.
Follow the steps below to prepare your faucet and fix the adapter without leaks or damage.
Remove Existing Aerator
First, remove the aerator from the faucet. The aerator is the small screen at the faucet’s tip that controls water flow.
- Grip the aerator with your fingers or use pliers wrapped in cloth.
- Turn it counterclockwise to unscrew it.
- If stuck, apply a little vinegar to loosen mineral deposits.
- Once loose, remove the aerator and clean the threads.
Screw On Adapter Securely
After removing the aerator, screw the hose adapter onto the faucet’s threads. Make sure it fits tightly to avoid leaks.
| Tip | Description |
| Check Washer | Ensure the adapter’s rubber washer is in place for a good seal. |
| Hand Tighten | Turn the adapter clockwise by hand until snug. |
| Use Pliers Carefully | Use pliers with a cloth to finish tightening, avoid over-tightening. |
| Test for Leaks | Turn on water and check if any water drips around the adapter. |
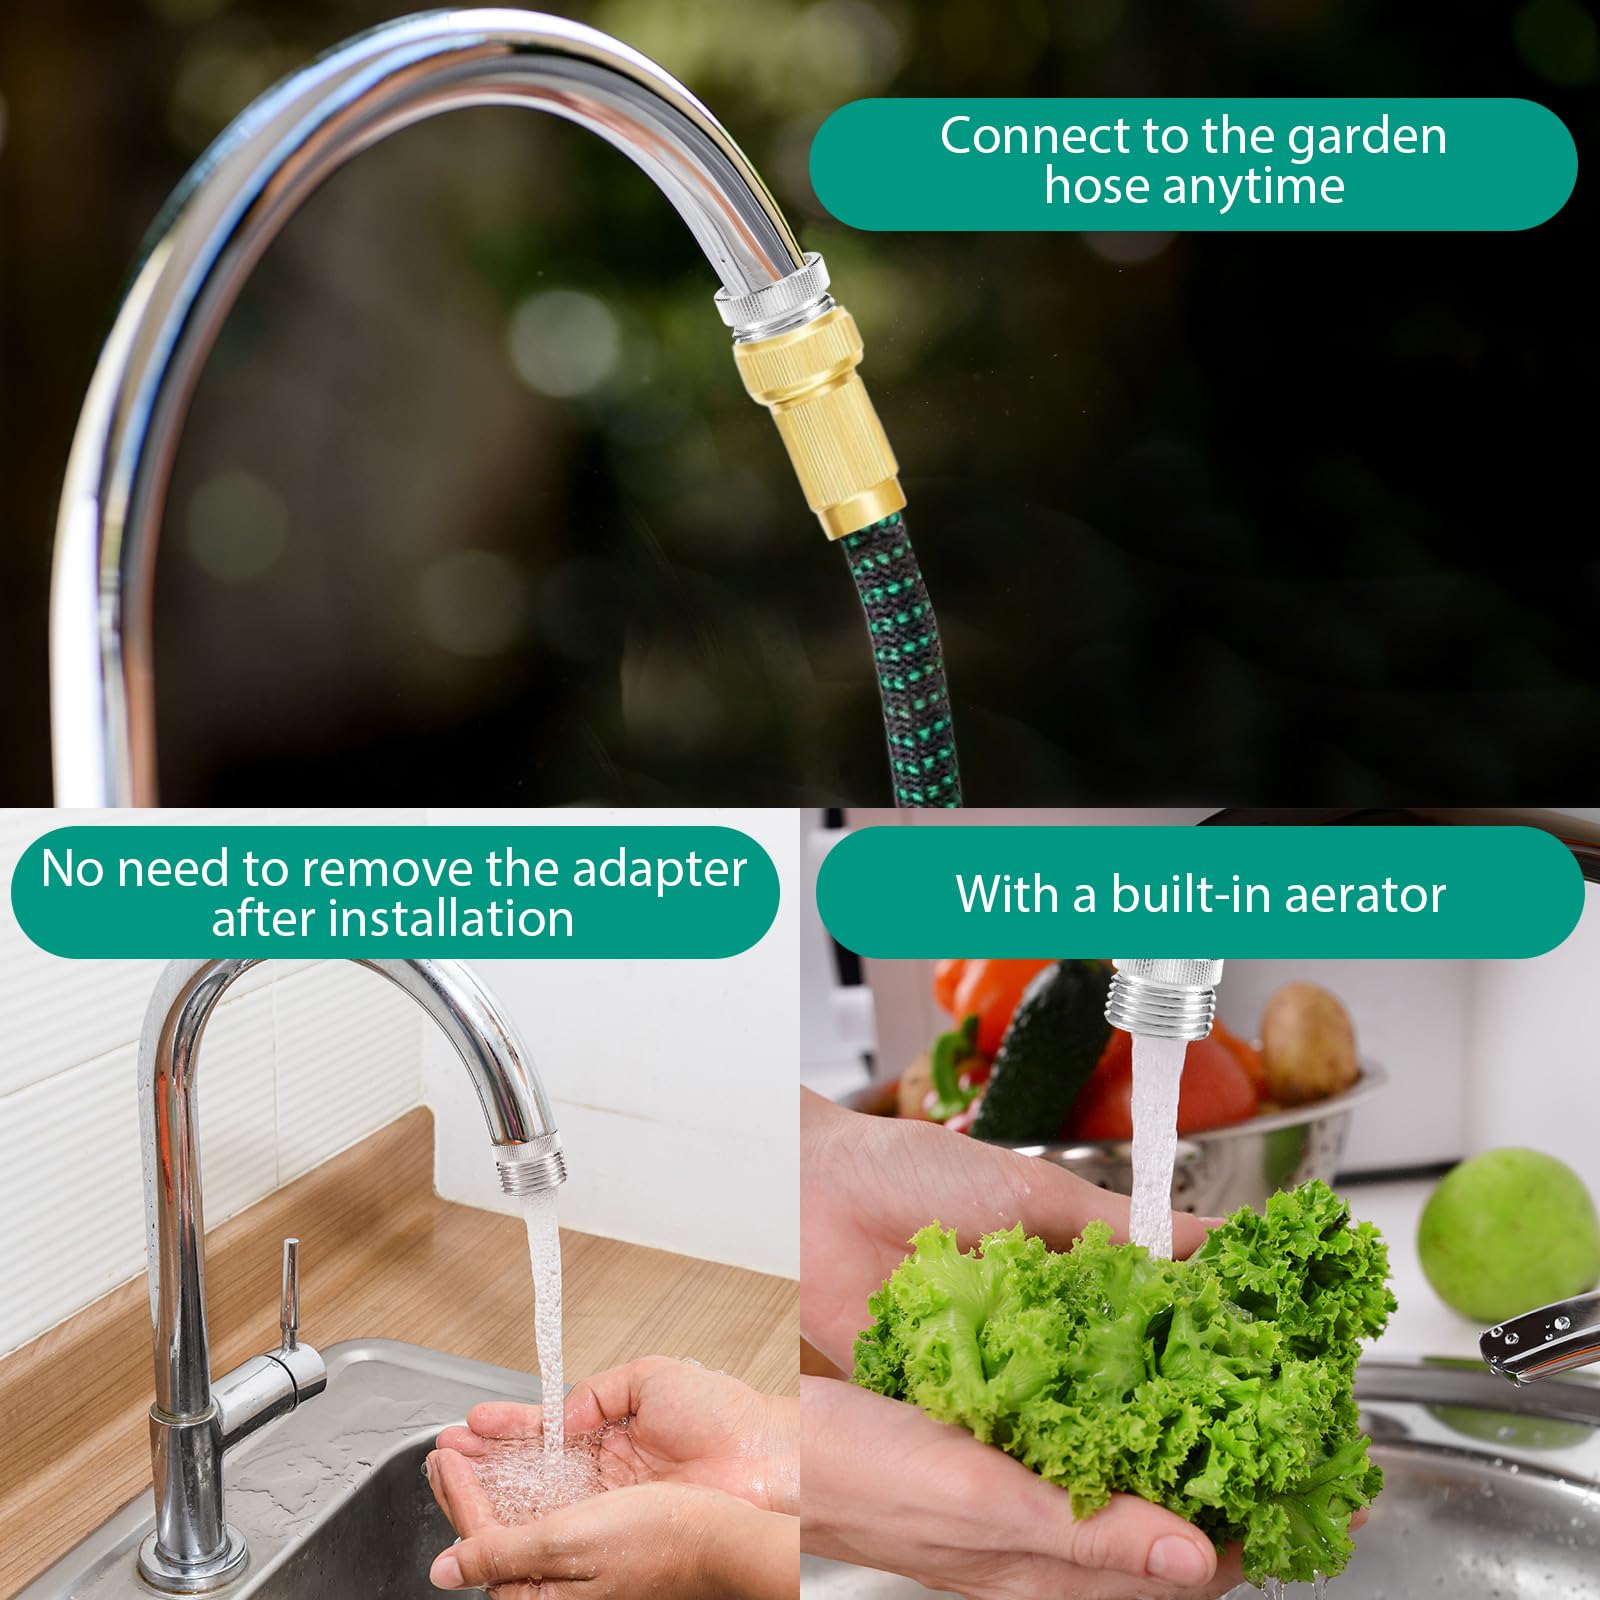
Connect Garden Hose
Connecting a garden hose to your kitchen faucet lets you water plants or wash outdoor items easily. This guide shows simple steps to attach the hose correctly.
Make sure you have the right tools and parts before starting. Proper connection prevents leaks and keeps water flow steady.
Check Hose End
Look at the end of your garden hose. It should have a threaded fitting that screws onto an adapter or faucet. If the hose end is damaged, water can leak.
Clean the hose end to remove dirt or debris. Check if the rubber washer inside is in good shape. The washer helps stop water from leaking.
- Inspect the hose end threads for damage
- Make sure the washer is present and not cracked
- Clean dirt or debris from the threads
Attach Hose To Adapter
Use an adapter that fits your kitchen faucet. Screw the adapter onto the faucet tightly by hand. Avoid using tools that can damage the adapter.
Next, screw the garden hose end onto the adapter. Turn it clockwise until it is snug. Do not overtighten, or you may damage the threads.
- Screw adapter onto the kitchen faucet firmly
- Attach hose end to the adapter by turning clockwise
- Stop tightening when connection feels secure

Credit: www.amazon.ca
Test For Leaks
After attaching your garden hose to the kitchen faucet, checking for leaks is important. Leaks waste water and can cause damage.
Testing the connection carefully helps you find and fix leaks early. This keeps your setup safe and efficient.
Turn On Water Slowly
Open the faucet slowly to avoid a sudden rush of water. This helps you see if water escapes from any spot.
Slow water flow reduces pressure on the hose and connections, making leaks easier to spot.
Inspect Connections
Look closely at where the hose meets the faucet and where the hose connects to the nozzle. These are common leak points.
- Check the hose end for cracks or loose fittings.
- See if the washer inside the connector is in place.
- Feel for water or moisture around the joints.
- Tighten any loose connectors by hand or with a wrench.
Troubleshoot Common Issues
Attaching a garden hose to a kitchen faucet can sometimes cause problems. These issues may include leaks or poor water flow. Fixing them is easy with a few simple checks.
This guide helps you find and solve common problems. Follow the steps below to keep your hose working well.
Fix Leaks
Leaks often happen where the hose connects to the faucet. Check the washer inside the hose connector. If it is cracked or missing, replace it with a new one.
Also, make sure the connection is tight. Use pliers carefully if needed, but do not overtighten. This can cause damage and make leaks worse.
- Inspect the rubber washer for cracks or damage
- Replace the washer if it is worn out
- Tighten the connection by hand or with pliers
- Avoid overtightening to prevent damage
Improve Water Flow
Low water flow can result from clogged faucet aerators or hose filters. Remove the aerator and clean out any dirt or mineral buildup. Rinse the hose filter if your hose has one.
Check if the hose is bent or twisted. Straighten it to allow water to flow freely. Also, make sure the faucet valve is fully open for maximum water pressure.
- Remove and clean the faucet aerator
- Rinse or replace the hose filter
- Straighten any kinks or twists in the hose
- Open the faucet valve completely
Frequently Asked Questions
How To Connect A Garden Hose To Faucet?
To connect a garden hose to your kitchen faucet, use a faucet adapter. First, remove the faucet aerator. Then, attach the adapter to the faucet. Finally, connect the garden hose to the adapter. Ensure the connections are tight to prevent leaks.
This setup is temporary and should be removed after use.
Can All Kitchen Faucets Attach To Hoses?
Not all kitchen faucets can attach to hoses directly. You’ll need a compatible faucet adapter. Check your faucet’s thread size and type before purchasing an adapter. Some faucets have unique designs or sizes, requiring specific adapters. Always measure your faucet and consult product specifications for a proper fit.
What Adapter Do I Need For Hose Attachment?
You’ll need a kitchen faucet adapter for hose attachment. These adapters convert the faucet’s thread to fit a garden hose. Measure your faucet’s thread size for the correct adapter. They are available in hardware stores or online. Always ensure the adapter is compatible with both your faucet and hose.
Is It Easy To Remove The Adapter?
Yes, it’s easy to remove the adapter. Simply unscrew it from your kitchen faucet. Use your hand or a wrench for stubborn adapters. Always remove the adapter after use to avoid water flow issues. Regularly check for wear and tear to ensure a secure and leak-free connection.
Conclusion
Attaching a garden hose to a kitchen faucet is simple and useful. Use the right adapter to fit your faucet and hose. Tighten connections well to avoid leaks. Turn on water slowly to check for drips. This setup saves time and water for indoor and outdoor tasks.
With a few easy steps, you can water plants or clean without hassle. Keep your tools ready and enjoy the convenience of this quick fix. No need for special skills—just follow the steps carefully. Your garden and home will benefit from this easy solution.