


Are you ready to create the perfect garden bed but worried about uneven ground ruining your plans? Leveling your garden bed is the first crucial step to ensure healthy plants and a beautiful garden space.
When your garden bed is level, water spreads evenly, roots grow strong, and your plants thrive. In this guide, you’ll discover simple, effective ways to level your garden bed quickly—no special tools or experience needed. Keep reading, and you’ll have a perfectly flat garden bed ready for planting in no time!
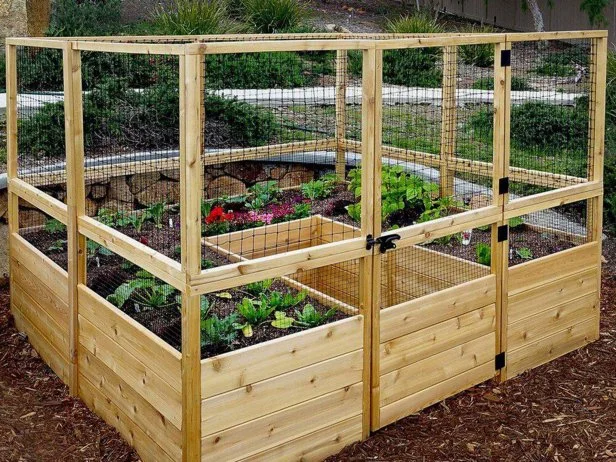
Credit: www.familyhandyman.com
Tools And Materials Needed
Leveling a garden bed makes planting easier and helps water flow evenly. Using the right tools and materials saves time and effort. Safety gear keeps you protected during the work.
Below are the main tools and materials needed for leveling a garden bed. Each group has its own purpose and importance.
Essential Gardening Tools
These tools help you dig, measure, and smooth the soil for a level garden bed.
- Shovel or spade for digging and moving soil
- Rake for spreading and smoothing soil
- Garden hoe to break up hard soil
- Measuring tape to check dimensions
- Level tool or carpenter’s level to ensure flatness
- String and stakes to mark the garden bed edges
Materials For Leveling
Use these materials to fill low spots and create a smooth surface in your garden bed.
| Material | Purpose |
| Topsoil | Fill low areas and improve soil quality |
| Sand | Help with drainage and leveling |
| Compost | Add nutrients and improve soil texture |
| Mulch | Protect soil surface after leveling |
Safety Gear
Wear safety gear to protect yourself from dirt, tools, and possible injuries.
- Gardening gloves to protect hands from cuts and blisters
- Sturdy shoes or boots for foot protection
- Safety glasses to shield eyes from dust and debris
- Knee pads to protect knees when working low
Preparing The Site
Leveling a garden bed starts with good preparation. A well-prepared site helps plants grow strong.
Take time to clear the area, remove debris, and mark the bed correctly. This makes the next steps easier.
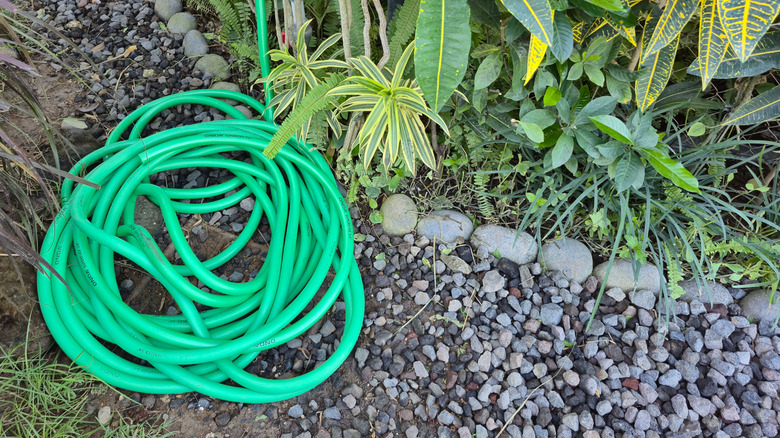
Clearing The Area
Remove any large rocks, sticks, and old plants from the site. Clear all obstacles to create a flat surface.
Removing Debris And Weeds
Weeds and small debris can stop your garden bed from being level. Pull out all weeds and rake the soil clean.
- Use a hoe or hand tool to dig out weed roots
- Collect dead leaves and twigs in a bucket
- Rake the soil to break up clumps
- Dispose of debris far from the garden
Marking The Garden Bed
Mark the edges of the bed before leveling. This guides you to keep the bed shape neat and even.
| Tool | Purpose |
|---|---|
| Measuring tape | Measure bed size accurately |
| Wooden stakes | Mark corners and edges |
| String or twine | Create straight boundary lines |
Checking The Current Level
Before you start leveling your garden bed, check how even the surface is. This step helps you see where adjustments are needed.
Use simple tools and methods to find high and low spots on your garden bed.
Using A Leveling Tool
A leveling tool helps you find flat areas on your garden bed. A carpenter’s level or a laser level works well for this task.
- Place the level tool on the soil surface.
- Check if the bubble is centered or if the laser line is straight.
- Move the tool around to test different parts of the bed.
- Mark spots where the level shows uneven areas.
Measuring High And Low Spots
After finding uneven spots, measure how much higher or lower they are. This helps you know how much soil to add or remove.
| Spot | Height Difference | Action Needed |
|---|---|---|
| North Side | 2 inches high | Remove soil |
| South Side | 3 inches low | Add soil |
| Center | Level | No change |

Credit: www.reddit.com
Adding Or Removing Soil
Leveling your garden bed makes planting easier and improves water flow. You can add or remove soil to fix uneven spots.
Adjusting soil height helps plants grow better by creating a flat surface. This guide shows how to fill low areas and remove extra soil.
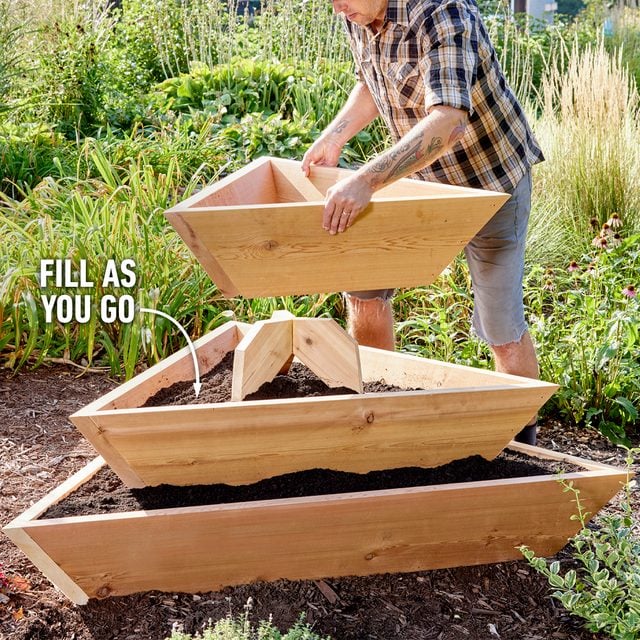
Filling Low Areas
Low spots in your garden bed can cause water to pool and harm plants. Add soil to raise these areas to the right level.
Use quality soil that matches your garden bed. Spread it evenly and press down gently to avoid air pockets.
- Choose soil similar to existing bed soil
- Fill low spots slowly in small layers
- Level each layer before adding more soil
- Lightly water soil to help it settle
Removing Excess Soil
High spots can stop water from reaching plant roots. Remove extra soil to create a flat surface.
Use a shovel or rake to take away soil carefully. Avoid digging too deep to keep the bed healthy.
- Mark high spots before removing soil
- Remove soil in small amounts
- Check level often to avoid over-removing
- Use removed soil elsewhere in the garden
Soil Quality Considerations
Good soil quality is key when adding or removing soil. Healthy soil supports plant growth and drainage.
Check soil texture and nutrients. Mix compost or organic matter if the soil is poor.
- Test soil for pH and nutrients
- Add compost to improve soil structure
- Avoid using soil with weeds or pests
- Keep soil loose to allow root growth
Leveling Techniques
Leveling a garden bed helps plants grow evenly and prevents water pooling. It creates a smooth surface for planting.
Use simple tools and methods to make sure your garden bed is flat and ready for seeds or seedlings.
Raking And Spreading Soil
Start by spreading soil evenly across the garden bed. Use a rake to break up clumps and smooth the surface. This step helps remove bumps and holes.
- Spread soil from high spots to low spots
- Use a garden rake to level the soil
- Remove rocks and debris while raking
- Check for even soil depth
Using A Straightedge Or Board
Place a long, straight board or metal straightedge across the bed. Move it back and forth to find high and low spots. This tool guides you to make the soil flat.
| Tool | Purpose | How to Use |
|---|---|---|
| Straightedge | Check soil flatness | Lay across bed and rock gently |
| Board | Level soil | Drag across soil to fill dips |
Tamping The Soil
Tamping compacts the soil slightly to avoid sinking later. Use a hand tamper or stomp the soil evenly. Do not press too hard or the soil becomes too tight for roots.
- Use a flat tamper or your feet
- Press gently and evenly
- Focus on low spots after leveling
- Keep soil firm but loose enough to grow plants
Credit: www.hgtv.com
Final Checks And Adjustments
After building your garden bed, it is important to check that it is level. A level bed helps plants grow evenly and prevents water pooling. Take some time to make sure the surface is flat.
This section covers how to verify flatness and make small corrections to your garden bed.
Verifying Flatness
Use a level tool to check the surface of your garden bed. Place the level at different points across the bed. Look for bubbles or marks that show if the bed is uneven.
Check both the length and width directions. This helps find any areas that are higher or lower than others.
- Place the level in the center of the bed
- Move the level to the corners and sides
- Note any spots where the bubble is not centered
- Mark uneven spots with a small flag or chalk
Making Minor Corrections
Fix small uneven spots by adding or removing soil. If one area is too high, remove some dirt. If it is too low, add soil and press it down firmly.
After making changes, check the level again. Repeat this until the bed is flat and even. This will help your plants get the right amount of water and sunlight.
- Remove soil from high spots with a shovel
- Add soil to low spots and pack it well
- Use a rake to spread soil evenly
- Recheck with the level tool after each change
Preparing For Planting
Leveling your garden bed is important before planting. It helps roots grow evenly and plants stay healthy.
Good preparation makes planting easier. It also improves water drainage and soil quality.
Moistening The Soil
Moist soil is easier to work with and helps plants start well. Water the soil lightly before planting.
Do not soak the soil. It should feel damp but not muddy. This keeps roots from rotting.
Adding Compost Or Fertilizer
Adding compost or fertilizer gives plants the nutrients they need. Mix it evenly into the soil.
Use organic compost or balanced fertilizer. This helps improve soil health and plant growth.
- Spread 2 to 3 inches of compost on the bed
- Mix compost into the top 6 to 8 inches of soil
- Apply fertilizer according to package instructions
- Rake the soil smooth after mixing
Frequently Asked Questions
How Do I Start Leveling A Garden Bed?
To begin leveling your garden bed, clear debris and rocks. Use a spade or shovel to loosen the soil. Rake the soil to distribute it evenly. Ensure the surface is smooth and level with a straightedge or level tool. This preparation helps plants grow evenly and maintain proper drainage.
What Tools Are Needed To Level A Garden Bed?
You’ll need basic gardening tools such as a shovel, rake, and a garden hoe. A spirit level or a straightedge is essential for checking levelness. Optional tools include a wheelbarrow for moving soil and a tamper for compacting. These tools simplify the leveling process and ensure accuracy.
How Can I Ensure Proper Drainage?
To ensure proper drainage, incorporate organic matter like compost into the soil. This improves soil structure and allows water to drain efficiently. Slightly slope the bed away from structures to prevent water pooling. Regularly check for compacted areas and loosen them to maintain optimal drainage conditions.
Is It Necessary To Compact The Soil?
Compacting soil ensures stability and prevents settling after planting. Lightly compact the soil using a tamper or your feet. Avoid over-compacting as it can restrict root growth. Proper compaction provides a firm foundation for plants while maintaining adequate aeration and drainage.
Conclusion
Leveling your garden bed helps plants grow strong and healthy. It makes watering easier and stops soil from washing away. Start with a flat surface, remove rocks, and fill low spots with soil. Use a level tool to check your work often.
Taking time to level your bed pays off during the growing season. A neat garden looks nice and works better. Try these steps in your next gardening project. You will see the difference in your plants’ growth and health. Simple care leads to better results.