
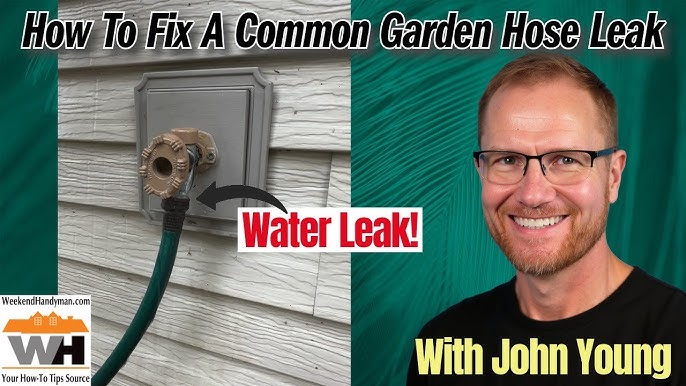



Have you ever been in the middle of watering your garden when your hose suddenly springs a leak? It’s frustrating and wastes water, not to mention time.
But before you rush out to buy a new one, what if you could fix your garden hose yourself? Knowing how to mend a garden hose can save you money and keep your plants happy. You’ll discover simple, effective ways to repair your hose quickly, even if you’ve never done it before.
Keep reading, and by the end, you’ll have the confidence to handle any hose mishap with ease.
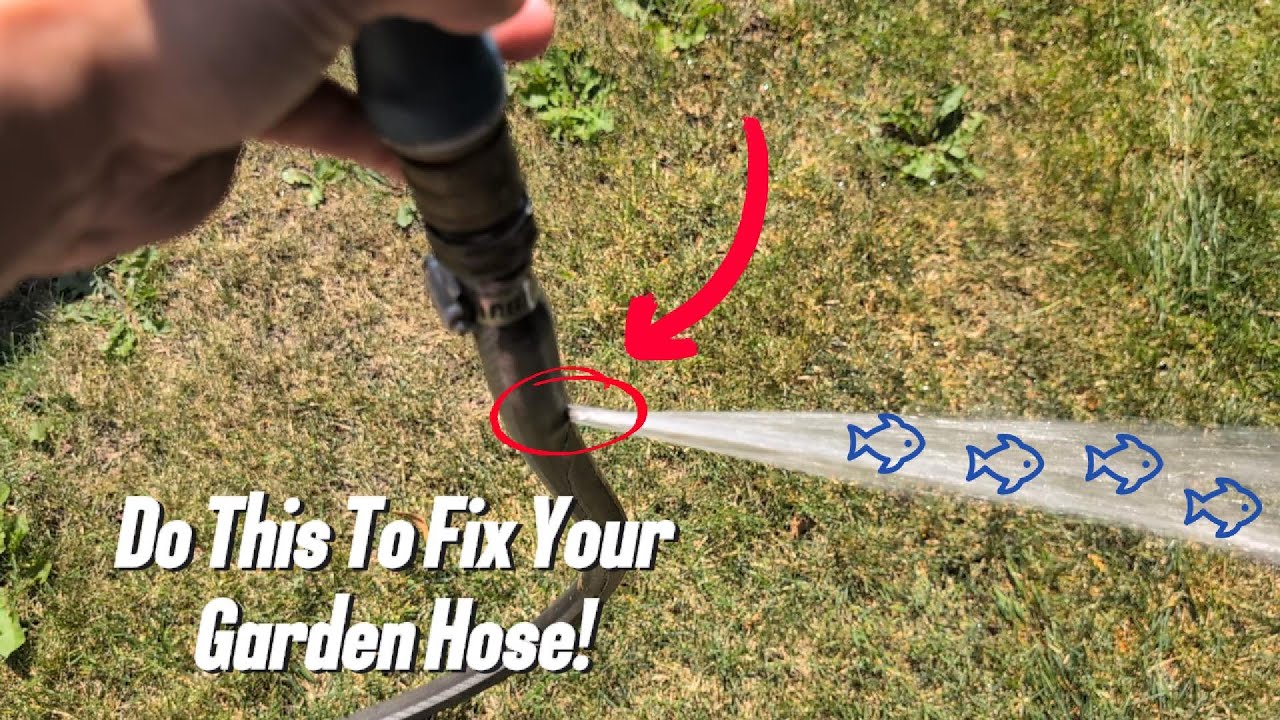
Credit: www.youtube.com
Common Hose Problems
Garden hoses face many problems over time. These issues stop water from flowing properly.
Fixing common hose problems can save money and keep your garden healthy.
Leaks And Cracks
Leaks and cracks happen when the hose wears out or gets old. Water escapes through these breaks.
You can fix small leaks with tape or a patch kit. Large cracks may need hose replacement.
- Check the hose for soft spots or holes
- Dry the area before applying a patch
- Use waterproof tape for temporary fixes
- Replace if damage is too big
Damaged Connectors
Connectors join the hose to water sources or tools. They can crack or loosen over time.
Fix loose connectors by tightening them. Replace cracked connectors to stop leaks.
- Check for cracks or rust on connectors
- Tighten loose connectors with a wrench
- Use plumber’s tape for better sealing
- Replace damaged connectors with new ones
Kinks And Twists
Kinks and twists block water flow. They happen when the hose bends sharply or coils wrong.
Straighten the hose and store it properly to avoid kinks. Use hose guides in tight spots.
- Uncoil the hose fully before use
- Use hose reels or holders for storage
- Avoid sharp bends and heavy objects on hose
- Check for weak spots caused by kinks
Tools And Materials Needed
Fixing a garden hose needs the right tools and parts. Using proper gear makes the repair easy and safe.
Below are the key items you should gather before starting your hose repair project.
Basic Repair Kit
A basic repair kit helps you fix leaks and breaks in the hose. It usually contains small tools and connectors.
- Hose clamps to secure joints
- Utility knife or scissors to cut the hose cleanly
- Screwdriver for tightening clamps
- Rubber washers to seal connections
- Pliers for gripping and twisting parts
Replacement Parts
Sometimes, parts of the hose need to be swapped out. Keep these replacement items handy to restore your hose.
| Part | Purpose |
| Hose connectors | Join two hose sections |
| End caps | Close hose ends to stop leaks |
| Quick couplers | Allow fast hose connection and disconnection |
| Rubber O-rings | Seal joints and prevent water loss |
Safety Gear
Wear safety gear to protect yourself during repairs. Simple equipment reduces the risk of injury.
- Work gloves to protect your hands
- Eye protection like safety glasses
- Closed-toe shoes for foot safety
- Long sleeves to avoid scratches
Fixing Small Leaks
Small leaks in a garden hose can waste water and reduce pressure. Fixing these leaks quickly keeps your hose working well.
This guide shows three easy ways to repair small holes or cracks in your garden hose. Use the method that fits your tools and time.
Using Waterproof Tape
Waterproof tape is a fast way to stop leaks. It wraps tightly around the hose and seals the hole from water.
- Turn off the water and dry the hose area well.
- Cut a piece of waterproof tape longer than the leak.
- Wrap the tape tightly around the hose, covering the hole fully.
- Press the tape edges down firmly to seal air gaps.
- Wait a few minutes before turning the water back on.
Applying Sealant
Sealant works by filling cracks and hardening to block leaks. It is best for small or slow leaks.
| Sealant Type | Drying Time | Water Resistance |
| Silicone | 24 hours | High |
| Rubber Cement | 1 hour | Medium |
| Epoxy Putty | 5 minutes | High |
Apply sealant on a dry hose surface. Spread it over the leak and let it dry fully before use.
Patch Kits
Patch kits include a patch and adhesive to fix leaks. They create a strong, lasting seal on the hose.
To use a patch kit:
- Cut the hose and clean the area around the leak.
- Apply the adhesive on the patch and on the hose.
- Press the patch over the leak and hold firmly for a minute.
- Let the adhesive dry as per instructions before use.

Credit: www.youtube.com
Repairing Hose Connectors
Garden hose connectors often leak or break. Fixing them keeps your hose working well. Simple repairs save money and time.
This guide covers replacing washers, tightening fittings, and swapping connectors. Each fix is easy to do with common tools.
Replacing Washers
Washers seal the connection between the hose and the faucet. Old washers crack or wear out. Replacing them stops leaks.
- Turn off the water and disconnect the hose.
- Unscrew the connector and remove the old washer.
- Buy a new washer that fits your connector size.
- Insert the new washer and screw the connector back on.
- Turn on the water and check for leaks.
Tightening Loose Fittings
Loose fittings cause water to drip or spray. Tightening them helps stop leaks quickly. Use a wrench or pliers for a firm grip.
| Tool | Use |
|---|---|
| Adjustable Wrench | Grip and turn the connector tightly |
| Pliers | Hold fittings steady while tightening |
| Tape (optional) | Wrap threads for extra seal |
Do not overtighten to avoid damaging the connector or hose.
Swapping Out Connectors
If connectors are cracked or broken, replace them. New connectors restore a strong, leak-free connection.
- Remove the damaged connector by unscrewing it from the hose.
- Choose a replacement connector that matches your hose diameter.
- Slide the new connector onto the hose end securely.
- Tighten any screws or clamps to hold it in place.
- Test the connection by turning on the water.
Handling Major Hose Damage
Garden hoses can get damaged by cuts, cracks, or leaks. Fixing major damage helps you avoid buying a new hose. You can repair the hose yourself with simple tools.
This guide covers how to cut and rejoin the hose, use repair couplings, and test for leaks. These steps restore your hose to working condition quickly.
Cutting And Rejoining Hose
First, find the damaged part of the hose. Use a sharp knife or scissors to cut out the bad section. Cut straight to make a clean edge on both ends.
After cutting, you can rejoin the hose ends using a hose repair kit or connectors. Make sure the ends fit snugly into the connector to avoid leaks.
- Cut the hose evenly on both sides of the damage
- Slide the connector into one end of the hose
- Push the other hose end onto the opposite side of the connector
- Tighten any clamps or fittings to secure the join
Using Hose Repair Couplings
Hose repair couplings connect two hose sections firmly. They come in plastic or metal and fit different hose sizes. Choose one that matches your hose diameter.
| Coupling Type | Material | Best For |
|---|---|---|
| Barbed Coupling | Plastic | Light garden hoses |
| Compression Coupling | Metal | Heavy-duty hoses |
| Quick Connect Coupling | Plastic or Metal | Easy connect/disconnect |
To install, push the hose ends onto the coupling firmly. Use hose clamps if needed for a tight seal. This method stops leaks and keeps water flowing.
Testing For Leaks
After repair, test the hose for leaks before full use. Turn on the water slowly and watch the joined area closely. Check for drips or wet spots.
- Connect the hose to a water source
- Turn water on gently
- Inspect the repair area for leaks
- Tighten clamps if water escapes
- Let the water run for a few minutes to confirm the fix

Credit: www.familyhandyman.com
Preventing Future Damage
Garden hoses can last longer with simple care. Avoiding damage saves money and effort.
Preventing damage helps keep your hose working well for many seasons.
Proper Storage Tips
Store your hose in a cool, dry place to avoid cracks. Do not leave it in direct sunlight.
- Use a hose reel or hanger to keep it off the ground
- Drain water from the hose before storing
- Keep the hose coiled loosely to prevent stress
- Store indoors during winter to avoid freezing
Avoiding Kinks
Kinks cause breaks and reduce water flow. Handle your hose gently to avoid sharp bends.
| Common Cause | Prevention |
| Tight bending around corners | Use hose guides or swivel connectors |
| Improper coiling | Coil loosely in large loops |
| Dragging over rough surfaces | Lift hose when moving |
Regular Maintenance
Check your hose often for leaks and cracks. Fix small problems before they grow.
- Inspect the entire hose for damage
- Replace worn washers inside connectors
- Flush the hose to clear blockages
- Store properly after use
Frequently Asked Questions
How Do I Fix A Leaky Garden Hose?
To fix a leaky garden hose, start by identifying the leak’s location. Use a hose repair kit or waterproof tape to seal the leak. For more significant damage, consider replacing the damaged section with a hose connector. Regular maintenance can prevent future leaks.
Can I Repair A Hose Without Tools?
Yes, you can repair a hose without tools using waterproof tape. Simply wrap the tape tightly around the leak, ensuring full coverage. For a more permanent fix, consider using a hose repair kit, which might require basic tools like scissors.
What Causes Garden Hoses To Leak?
Garden hoses often leak due to wear and tear, exposure to harsh weather, or improper storage. Punctures, cracks, and loose connections are common culprits. Regularly inspect and maintain your hose to prevent leaks and extend its lifespan.
Is A Kinked Hose Repairable?
Yes, a kinked hose is repairable. Straighten the hose and locate the kink. If it’s damaged, cut out the kinked section and use a hose repair kit to reconnect the hose ends. Regularly uncoil the hose to prevent future kinks.
Conclusion
Fixing a garden hose can save time and money. Small leaks or cracks do not need a full replacement. Use basic tools and materials for quick repairs. Regular checks help catch damage early. A well-maintained hose lasts longer and works better.
Try these simple steps next time your hose breaks. Keep your garden healthy and your water flow steady. Simple fixes often bring big results. Give your hose a second life today.