


Is your garden hose leaking at the end or refusing to connect properly? Fixing a damaged hose end might seem tricky, but it’s easier than you think—and can save you money and frustration.
You’ll learn simple, step-by-step ways to repair your garden hose end quickly, so you can get back to watering your plants without hassle. Keep reading, and you’ll discover tips that make the repair process smooth and stress-free.
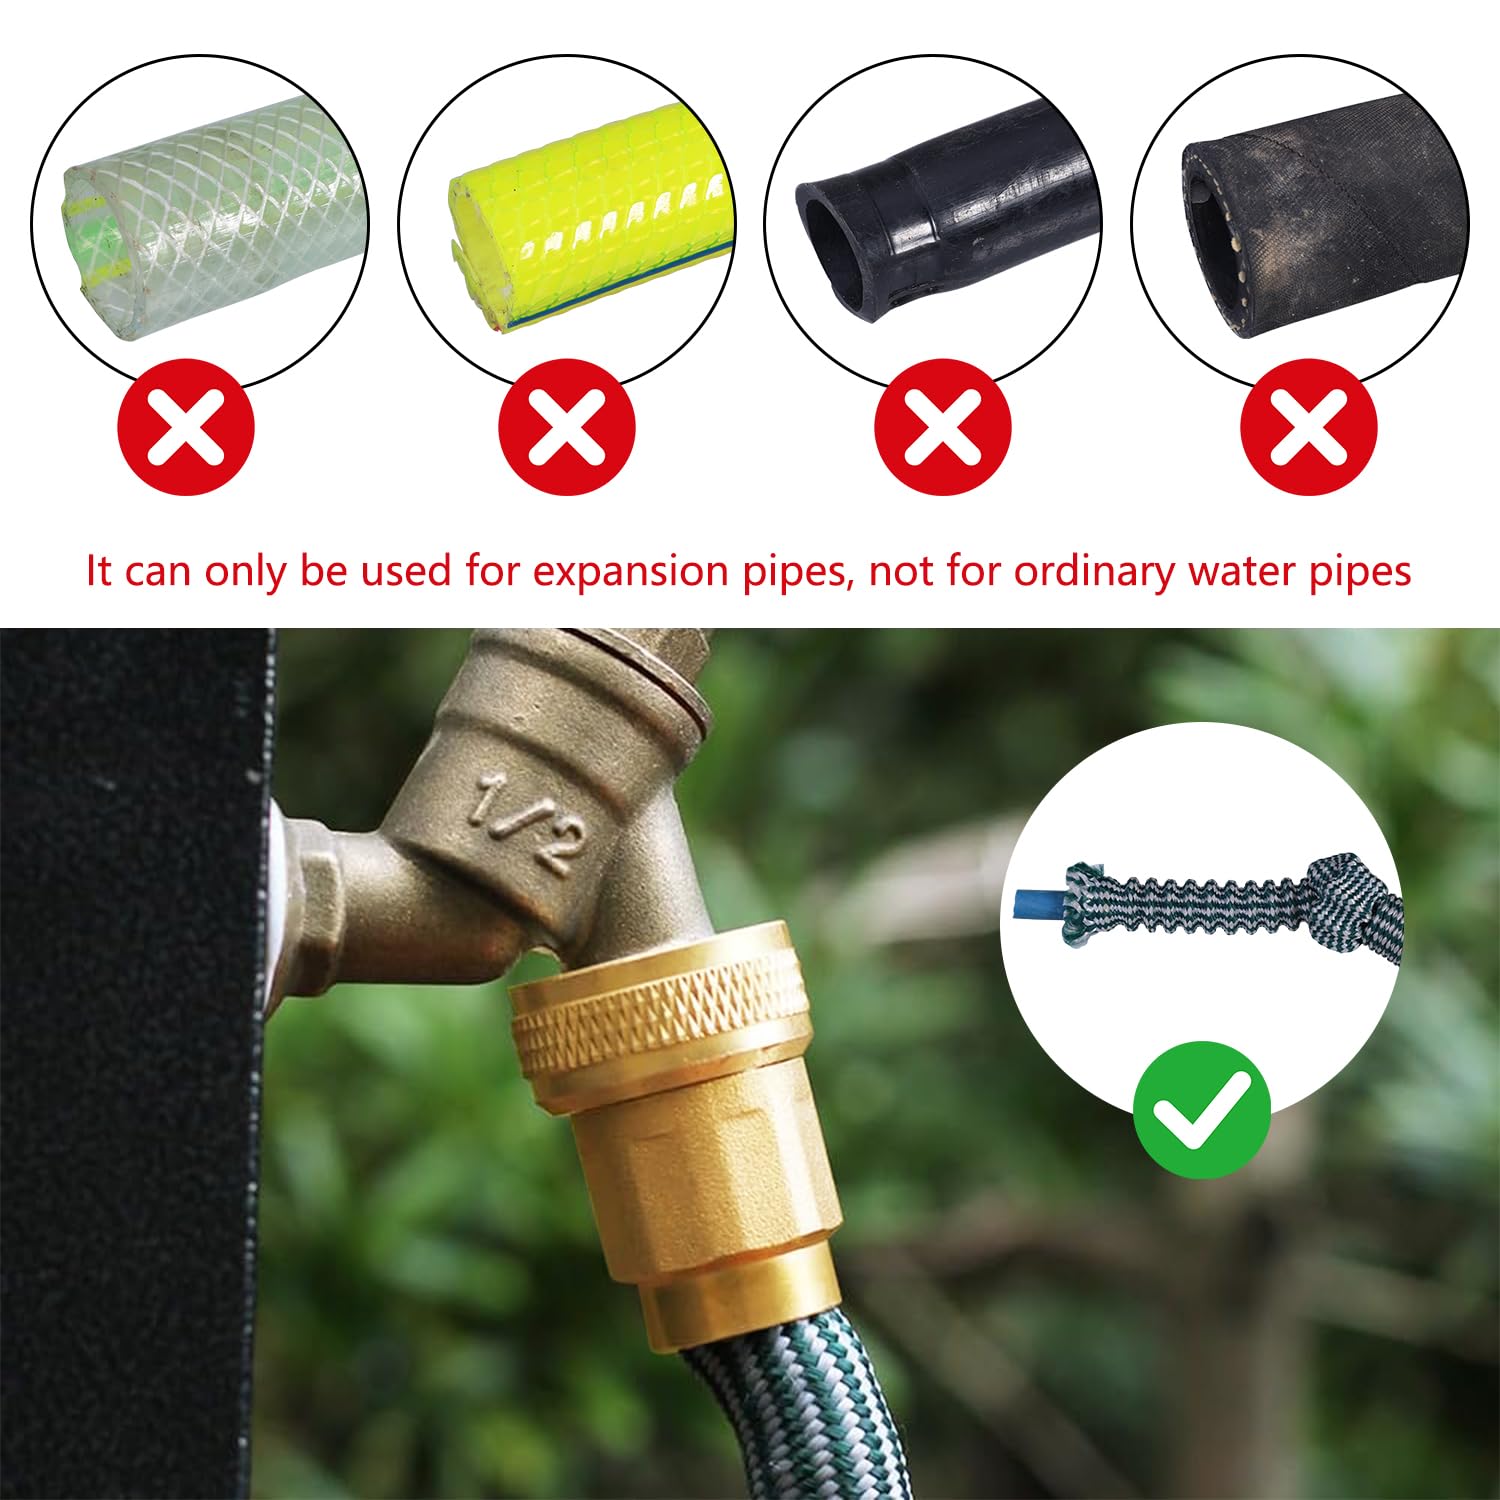
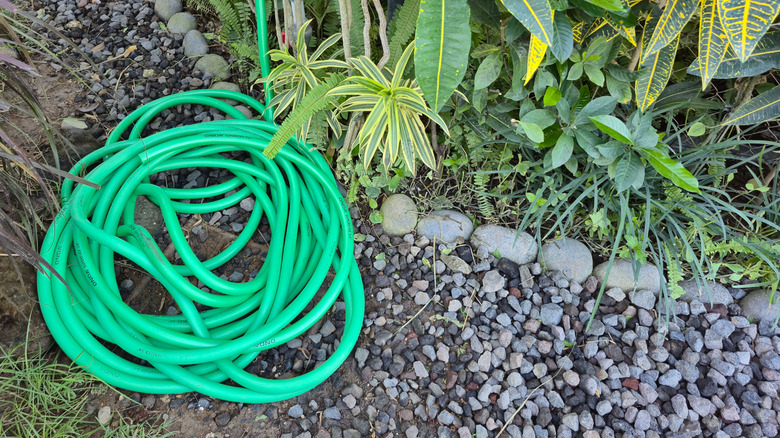
Credit: www.amazon.com
Common Hose End Problems
Garden hose ends often face wear and tear. Fixing these issues can save water and time.
This guide covers common problems with hose ends and how to repair them.
Leaks And Drips
Leaks and drips usually happen because of worn-out washers or damaged fittings. Water escapes through small gaps.
- Check the rubber washer inside the hose end.
- Replace the washer if it is cracked or missing.
- Tighten the hose end to the faucet to stop leaks.
- Use plumber’s tape on threads for a better seal.
Cracks And Breaks
Cracks and breaks cause major water loss and often happen from rough handling or cold weather. You may need to replace parts.
| Problem | Cause | Solution |
| Small cracks | Sun damage | Apply waterproof tape or replace hose end |
| Large breaks | Physical damage | Replace the damaged section or entire hose |
| Loose material | Aged plastic | Use metal fittings for durability |
Loose Connections
Loose connections cause leaks and reduce water pressure. They happen if threads wear out or fittings are not tight.
To fix loose connections:
- Turn off the water supply.
- Remove the hose end from the faucet.
- Inspect the threads for damage or dirt.
- Clean or replace the threads if needed.
- Use plumber’s tape on the threads.
- Reconnect and tighten the hose end by hand.
- Check for leaks by turning on the water.
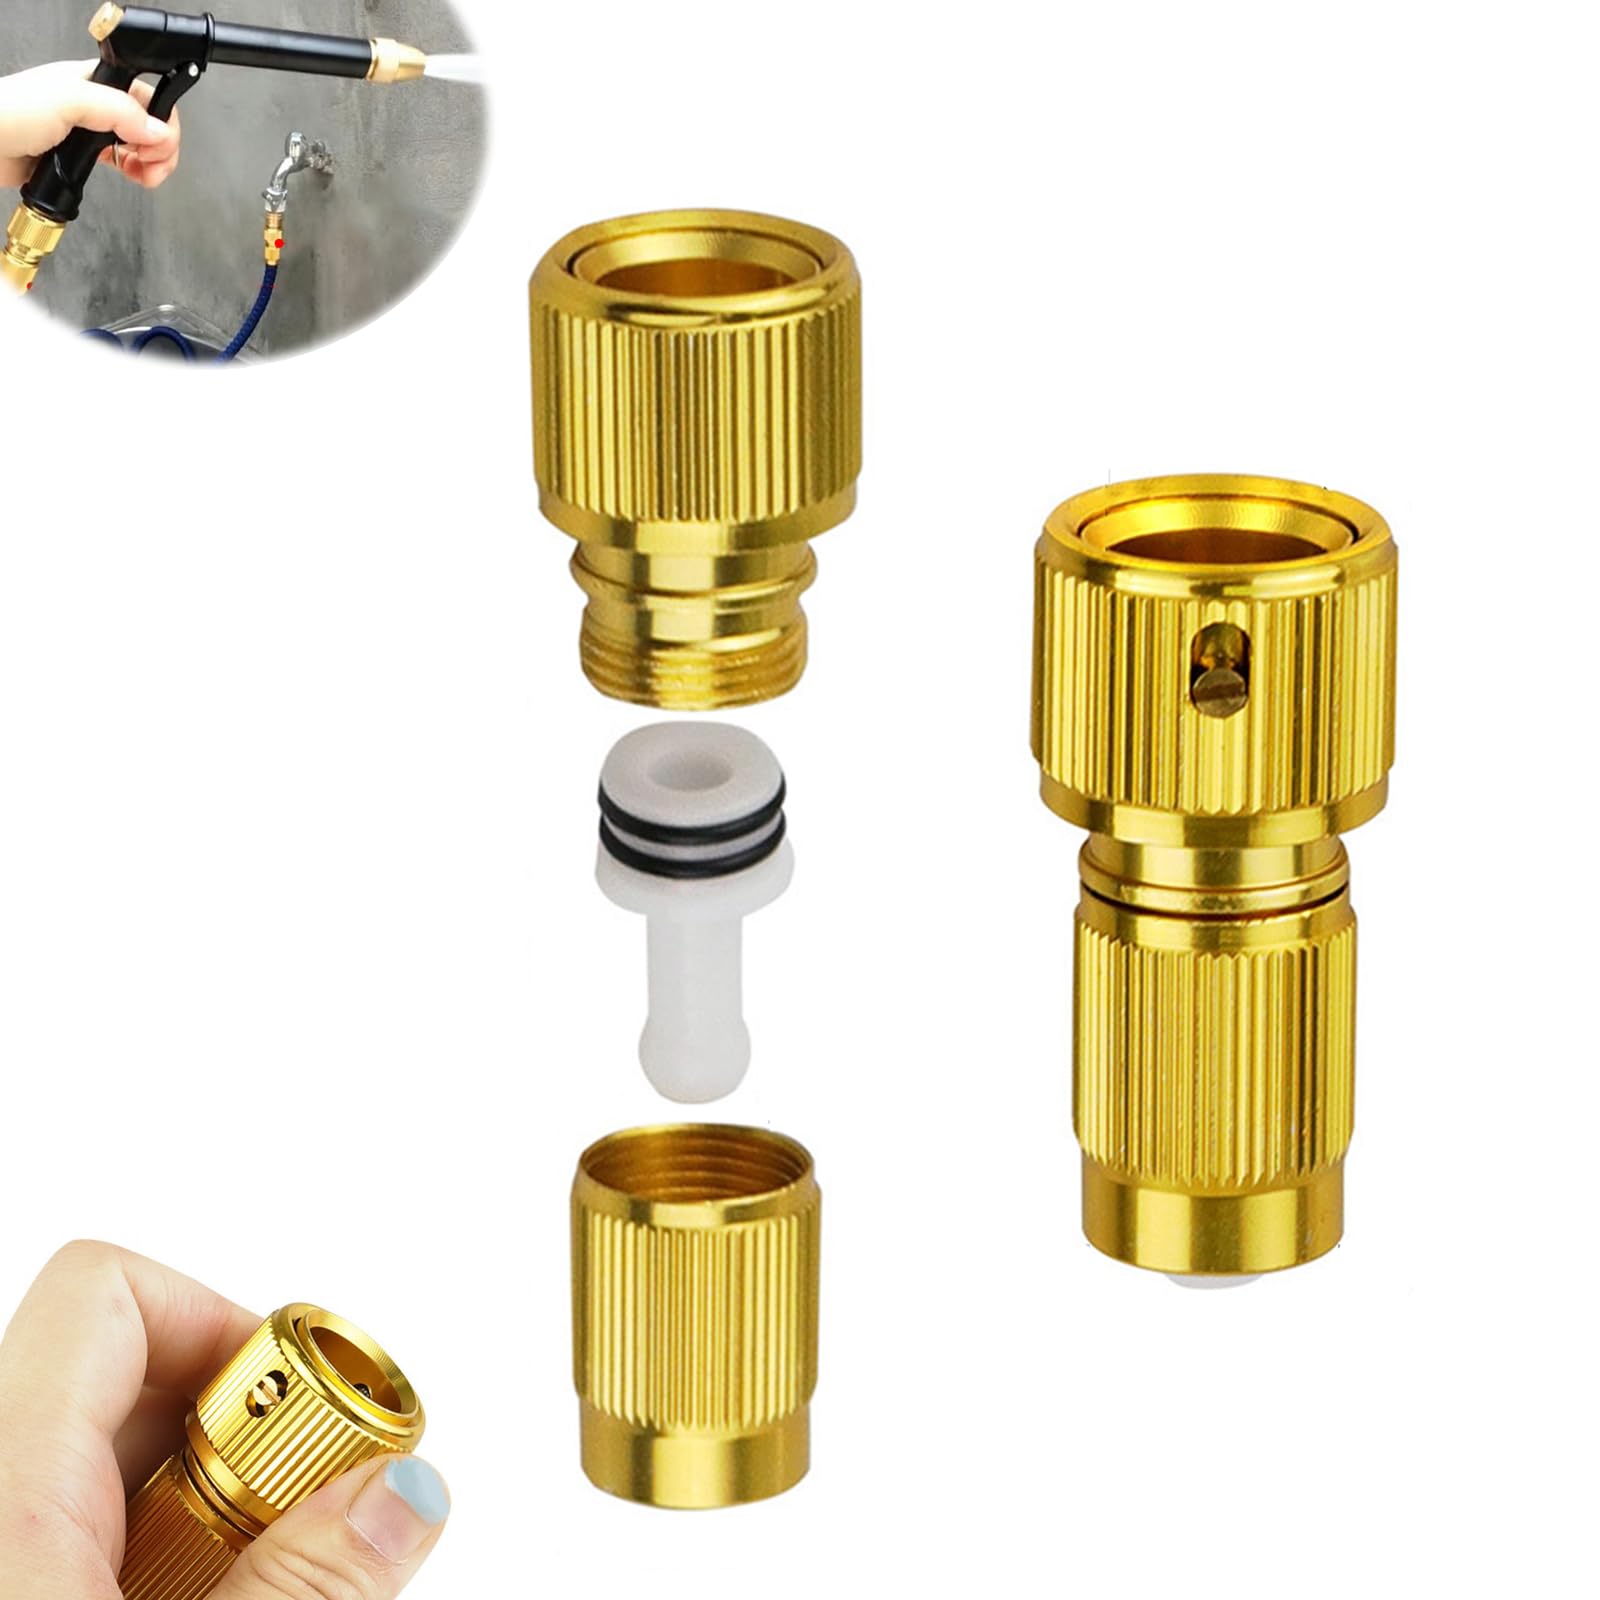
Credit: www.amazon.com
Tools And Materials Needed
Repairing a garden hose end is a simple task with the right tools and materials. Getting everything ready before you start makes the job easier.
This guide covers the essential tools, replacement parts, and safety gear you need to fix a garden hose end.
Essential Repair Tools
You need a few basic tools to remove the old hose end and attach a new one. These tools help you cut, tighten, and secure the hose.
- Utility knife or hose cutter
- Adjustable wrench
- Pliers
- Screwdriver (flat or Phillips)
- Measuring tape
Replacement Parts
Replacement parts depend on the type of hose and damage. Common parts include connectors and washers to ensure a tight seal.
- New hose end connector
- Rubber washers or gaskets
- Hose clamps (if needed)
- Teflon tape for thread sealing
Safety Gear
Wear simple safety gear to protect yourself. This keeps you safe from sharp tools and water pressure during repair.
- Work gloves to protect your hands
- Safety glasses to guard your eyes
- Closed-toe shoes for foot safety
Preparing The Hose For Repair
Before fixing a garden hose end, you must prepare the hose properly. This helps ensure a good repair and prevents leaks.
Start by removing water and cleaning the hose. Then cut off any damaged parts to get a smooth edge.
Draining The Hose
First, drain all the water from the hose. This makes it easier to work on and stops water from spilling during repair.
- Turn off the water supply connected to the hose.
- Disconnect the hose from the faucet.
- Hold one end of the hose up to let water flow out.
- Walk along the hose to squeeze out any trapped water.
- Leave the hose to dry for a few minutes.
Cleaning The End
Clean the end of the hose to remove dirt and debris. This helps the new fitting stick well and prevents leaks.
- Use a cloth to wipe off mud and dust.
- Rinse the hose end with water.
- Dry it completely with a towel.
- Check for any cracks or damage after cleaning.
Cutting Damaged Sections
Remove any cracked or worn parts by cutting the hose cleanly. Use a sharp tool for a straight cut.
| Tool | Purpose |
|---|---|
| Utility knife | Make straight, precise cuts |
| Garden scissors | Cut through thick hose material |
| Hose cutter | Designed for clean hose cuts |
Fixing Leaks And Cracks
Garden hoses can develop leaks and cracks at the ends over time. Fixing these issues saves water and extends the hose life.
There are simple ways to repair the hose end using common materials. Choose the method that fits your damage type.
Using Seal Tape
Seal tape is a flexible tape that stops leaks by sealing the hose threads and joints. It is easy to apply and works well for small cracks.
- Turn off water and dry the hose end.
- Wrap seal tape tightly around the damaged area.
- Cover the leak completely with several layers.
- Press tape firmly for a good seal.
- Allow tape to set before using the hose again.
Applying Hose Repair Tape
Hose repair tape is designed to bond when stretched and can fix larger cracks. It forms a strong, waterproof layer around the hose end.
| Action | Details |
|---|---|
| Clean Hose End | Remove dirt and dry surface fully. |
| Stretch Tape | Pull tape tightly while wrapping. |
| Wrap Around | Overlap layers to cover all damaged parts. |
| Press Firmly | Smooth tape to remove air bubbles. |
| Wait | Let tape set for 1 hour before use. |
Using Epoxy Or Sealant
Epoxy or waterproof sealant can fill cracks and harden to seal leaks. This method is good for deep or wide damage on the hose end.
- Clean and dry the hose end completely.
- Mix epoxy or prepare sealant as per instructions.
- Apply the epoxy or sealant over the crack or leak.
- Spread evenly to cover the damaged area well.
- Allow it to cure fully before using the hose again.
Replacing The Hose End Fitting
Fixing a broken garden hose end is easy. Replacing the hose end fitting saves money and time.
This guide shows how to remove the old fitting, install a new one, and secure it tightly.
Removing The Old Fitting
Start by cutting off the damaged hose end. Use a sharp knife or scissors. Cut straight across the hose.
Remove any metal or plastic pieces left inside the hose. Clean the hose end to get a smooth surface.
Installing A New Fitting
Push the new hose fitting into the hose end. Make sure it goes in firmly and fits snugly.
If the fitting is tight, twist it slightly while pushing. This helps the fitting slide in easier.
Securing With Clamps
Place a hose clamp over the hose where it covers the fitting. Tighten the clamp with a screwdriver.
- Use a metal clamp for a strong hold
- Tighten until the hose feels secure
- Check for leaks by turning on water
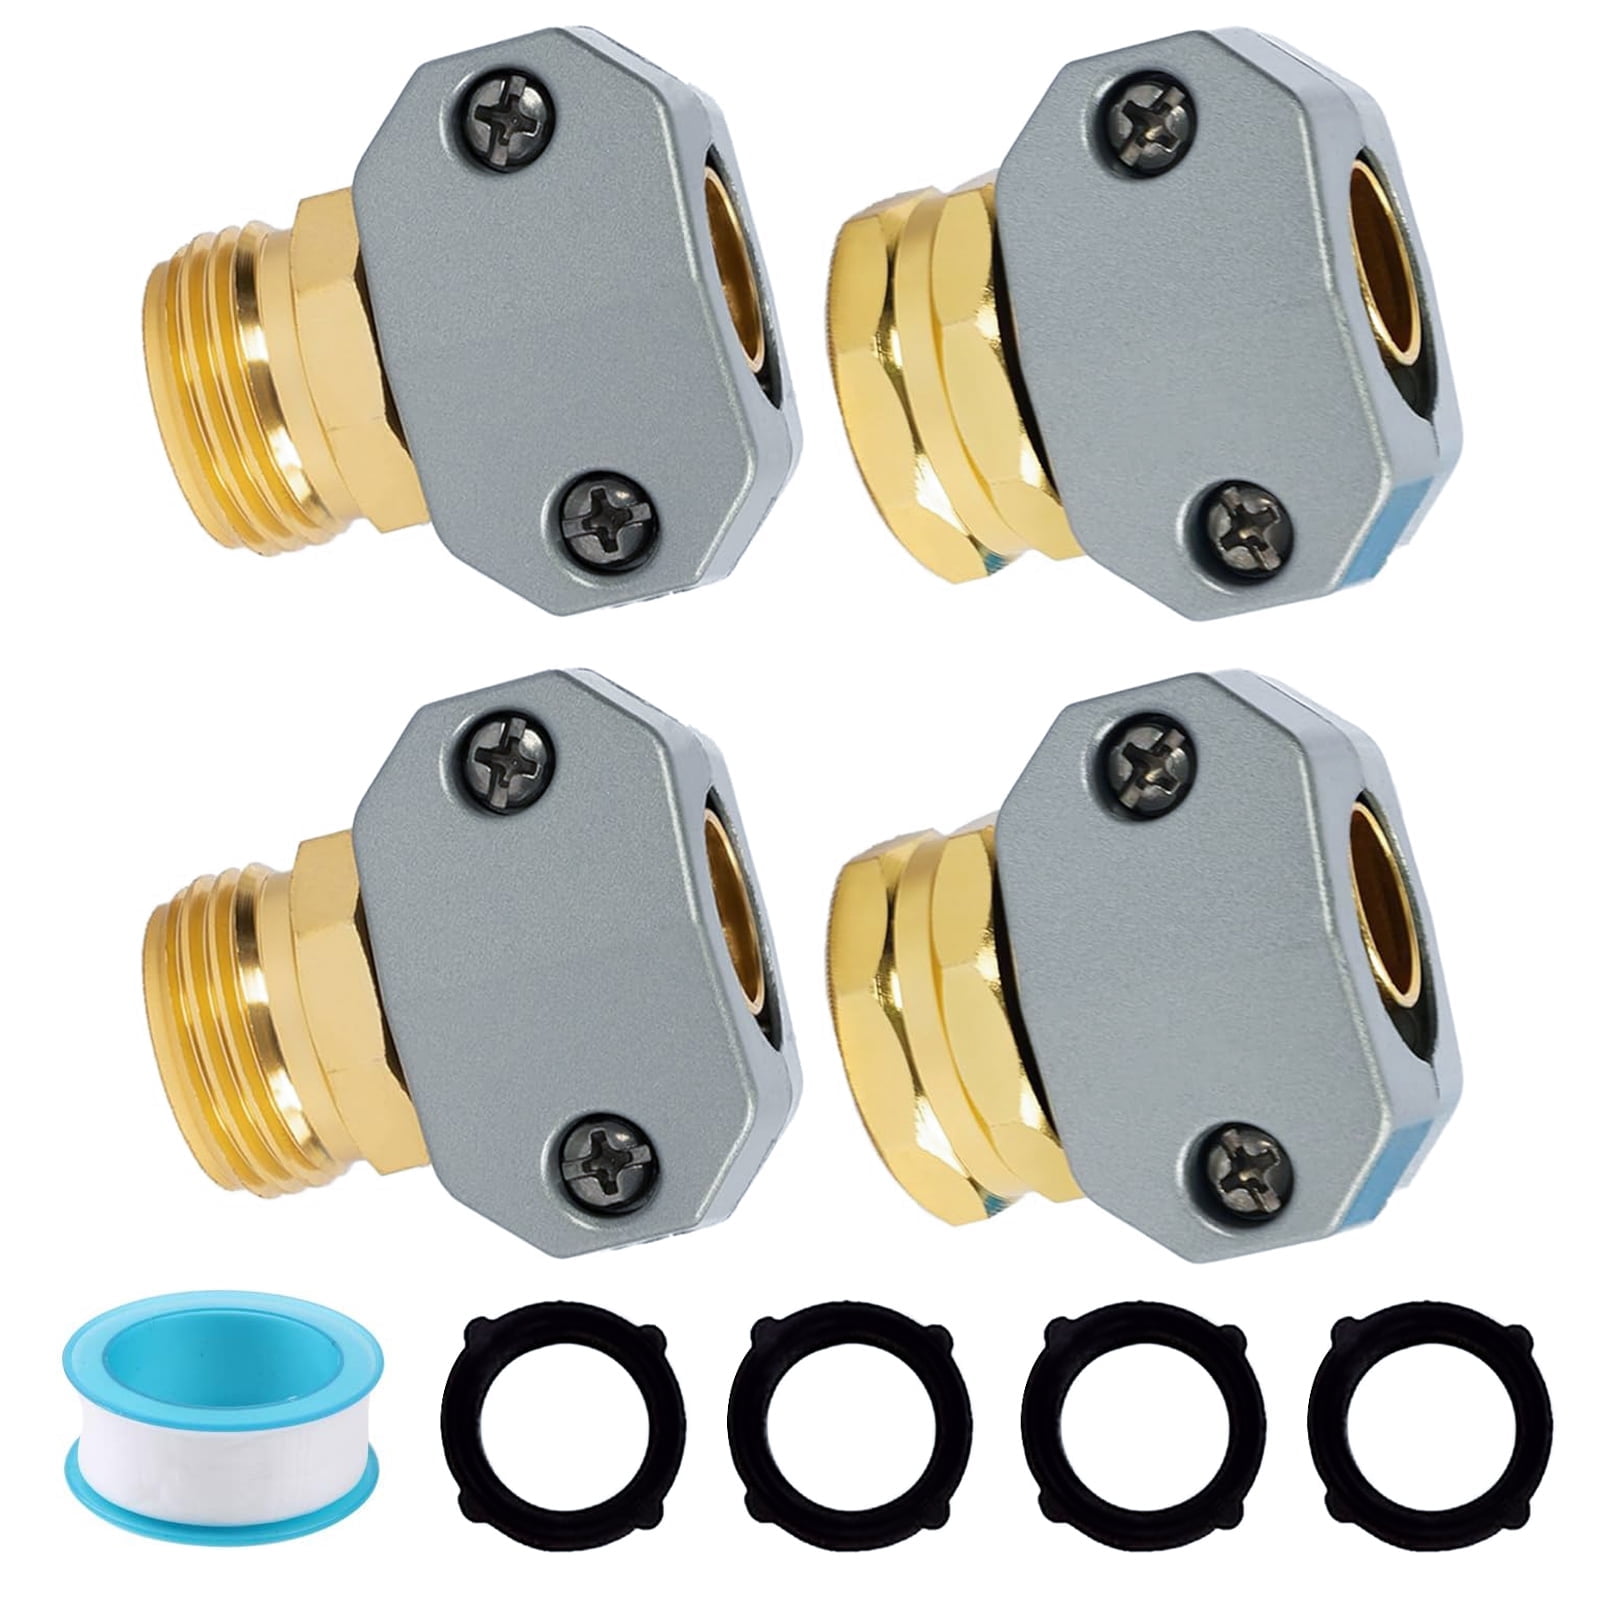
Credit: www.walmart.com
Testing The Repair
After fixing the garden hose end, testing is important. It helps to see if the repair works well.
Check the hose carefully to make sure no problems remain. This saves water and keeps the hose ready to use.
Checking For Leaks
Turn on the water slowly and watch the repaired end. Look closely for any drops or water sprays.
- Look around the connection point
- Check for wet spots on the hose
- Feel for water escaping with your hand
- Listen for hissing sounds of leaks
Ensuring Proper Water Flow
Water should flow out smoothly and strongly from the hose end. Weak flow means the repair may block water.
| Water Flow Condition | What It Means |
| Strong and steady | Repair is good |
| Weak or sputtering | Check for blockages |
| No flow | Repair may be too tight or hose is blocked |
Tips For Preventing Future Damage
Repairing a garden hose end fixes the problem for now. Taking care of the hose helps it last longer. Use these tips to stop damage before it starts.
Proper care makes your hose easier to use and saves money on replacements. Follow these simple steps to protect your hose.
Proper Storage
Store your garden hose in a cool, dry place. Keep it out of direct sunlight and away from sharp objects. Use a hose reel or hanger to keep it off the ground. This stops cracks and splits.
- Drain water from the hose after use
- Coil the hose loosely without tight loops
- Keep hose ends capped to prevent dirt inside
- Store indoors during winter to avoid freezing damage
Avoiding Kinks
Kinks make the hose weak and can cause leaks. Handle the hose gently to avoid sharp bends. Use hose guides around corners to keep it smooth.
| Tip | Why It Helps |
| Use a hose reel | Keeps hose coiled evenly and prevents kinks |
| Lay hose straight before use | Stops twisting and sharp bends |
| Avoid pulling hose around sharp edges | Reduces stress and cracking |
| Replace damaged sections quickly | Prevents kinks from worsening |
Regular Maintenance
Check your hose often for leaks or damage. Clean the ends to keep them clear. Tighten fittings to stop drips. A little care goes a long way.
Follow this quick checklist for hose care:
- Inspect hose ends for cracks
- Remove dirt and debris from fittings
- Test water flow for blockages
- Replace washers if leaking
Frequently Asked Questions
How Do I Fix A Leaky Garden Hose End?
To fix a leaky garden hose end, first cut off the damaged section. Attach a hose repair fitting by pushing it into the hose. Secure it tightly with a clamp. Make sure the fitting is snug to prevent leaks. Test the hose by running water through it.
What Tools Are Needed For Hose End Repair?
To repair a garden hose end, you’ll need a utility knife, a screwdriver, and a hose repair fitting. Additionally, pliers can help tighten clamps. Ensure you have replacement fittings suitable for your hose size. Having these tools ready makes the repair process quick and efficient.
Can I Use Tape To Fix Hose Leaks?
Using tape for temporary hose repairs is possible, but not ideal. Waterproof tape can seal minor leaks, but it won’t last long. For a permanent fix, replace the damaged hose end with a repair fitting. This ensures durability and prevents future leaks effectively.
How Often Should I Check Hose Ends?
Inspect garden hose ends every few months for damage or leaks. Regular checks help identify problems early, ensuring your hose remains functional. Look for cracks, rust, or worn-out fittings. Prompt repairs extend your hose’s life and maintain optimal water flow.
Conclusion
Repairing a garden hose end saves money and time. It keeps water flowing without leaks. You only need a few tools and simple steps. This small fix helps your garden stay healthy. Try these easy tips next time your hose breaks.
A little effort goes a long way in maintenance. Keep your hose ready for watering anytime. Simple repairs make your gardening tasks smoother. Remember, a fixed hose lasts much longer. Take care of your tools and enjoy your garden more.