
Are you looking for a simple way to make your garden stand out? A stacked stone garden border could be just what you need.
It adds charm, structure, and a natural feel to your outdoor space. Imagine your plants framed perfectly by smooth, sturdy stones that last for years. This isn’t just about decoration—it’s about creating a garden that invites you to relax and enjoy every moment.
Keep reading to discover how a stacked stone border can transform your garden and why it might be the easiest upgrade you make this season.
Choosing The Right Stone
Choosing the right stone is key for a beautiful garden border. The stone should fit the style of your garden and last for years.
Consider the types, colors, textures, and durability before you start building your stacked stone border.
Types Of Stacked Stone
There are many stone types to choose from. Each has a unique look and feel that can change your garden’s style.
- Limestone: Light color and smooth texture.
- Slate: Dark and flat stones with a layered look.
- Fieldstone: Natural and rough, great for a rustic style.
- Sandstone: Warm colors and soft texture.
- Granite: Hard and durable with a speckled pattern.
Color And Texture Options
Color and texture set the tone of your garden border. Choose stones that match or contrast your plants.
| Stone Type | Common Colors | Texture |
|---|---|---|
| Limestone | White, Cream, Light Gray | Smooth and soft |
| Slate | Dark Gray, Green, Blue | Flat and layered |
| Fieldstone | Brown, Tan, Red | Rough and natural |
| Sandstone | Orange, Yellow, Red | Soft and grainy |
| Granite | Gray, Pink, Black | Hard and speckled |
Durability Considerations
Durability is important for outdoor stones. Some stones hold up better against weather and wear.
- Granite is very strong and resists chipping.
- Slate resists water but can be brittle.
- Limestone is softer and may erode over time.
- Sandstone can wear down in heavy rain.
- Fieldstone is tough but may have cracks.
Planning Your Garden Border
Creating a stacked stone garden border adds beauty and function to your yard. Planning is key to ensure your design meets your needs.
Consider your space and style before starting. This will help you create a stunning and practical garden border.
Measuring Your Yard
Accurate measurements are important for planning your garden border. This helps you calculate the amount of materials needed.
- Use a measuring tape to determine the length and width of the area.
- Record these measurements to plan your stone layout.
- Consider any obstacles like trees or paths.
Design Styles To Consider
Your garden border should reflect your personal style. There are several design styles to choose from.
| Design Style | Description |
| Rustic | Natural stones with irregular shapes |
| Modern | Uniform stones with clean lines |
| Traditional | Classic stones with a timeless feel |
Incorporating Curves And Layers
Adding curves and layers can enhance the visual appeal of your garden border. It creates depth and interest.
Consider using curves to guide the eye through the garden. Layers can be achieved by stacking stones at varying heights.
Preparing The Site
Creating a stacked stone garden border starts with preparing the site properly. Good preparation helps the border last longer and look better.
This guide covers clearing and leveling the area, setting a solid foundation, and preparing drainage and soil.
Clearing And Leveling The Area
Remove all plants, weeds, and debris from the border area. This clears the space for building your stone border.
- Pull up grass and weeds by hand or use a garden hoe.
- Dig out roots and rocks to prevent future growth.
- Rake the soil to smooth out lumps and bumps.
- Check the area with a level to ensure it is flat.
Setting A Solid Foundation
A strong base keeps your stone border stable. Use gravel or crushed stone for the foundation.
| Material | Depth | Purpose |
|---|---|---|
| Gravel or crushed stone | 4 to 6 inches | Supports stones and helps drainage |
| Sand layer (optional) | 1 inch | Levels the surface for stones |
Compact the gravel layer firmly to prevent shifting.
Drainage And Soil Preparation
Good drainage stops water from collecting behind the stones. This protects the border from damage.
To improve drainage:
- Dig a shallow trench for the border area.
- Place landscape fabric inside the trench to block weeds.
- Fill the trench with gravel to allow water flow.
- Mix organic matter into the soil beyond the border.

Credit: www.youtube.com
Building The Stone Border
Creating a stacked stone garden border adds charm to your outdoor space. It also helps keep plants and soil in place.
Building the border takes some planning and care. Using the right techniques makes the border strong and lasting.
Stacking Techniques
Place larger stones at the bottom to give a stable base. Fit smaller stones on top to fill gaps and balance the wall.
Stack stones so they overlap joints. This makes the border stronger and stops stones from slipping.
- Start with flat stones for a level base
- Use irregular shapes to lock stones together
- Keep the wall slightly leaning inward for support
Securing Stones Without Mortar
You can build a solid stone border without using mortar. Careful placement and weight keep stones in place.
Use smaller stones or gravel to fill spaces. This adds friction and stops movement between big stones.
- Fit stones tightly together
- Fill gaps with small stones or gravel
- Check that each stone is stable before adding more
Tips For Stability And Longevity
Start with a trench to set stones below ground level. This stops the border from shifting over time.
Drain water away from the wall to avoid erosion. Use gravel behind the stones to help water flow.
- Choose stones that are hard and weather-resistant
- Place the largest stones at the bottom for support
- Keep the wall height low to reduce pressure
- Check the wall yearly and fix loose stones
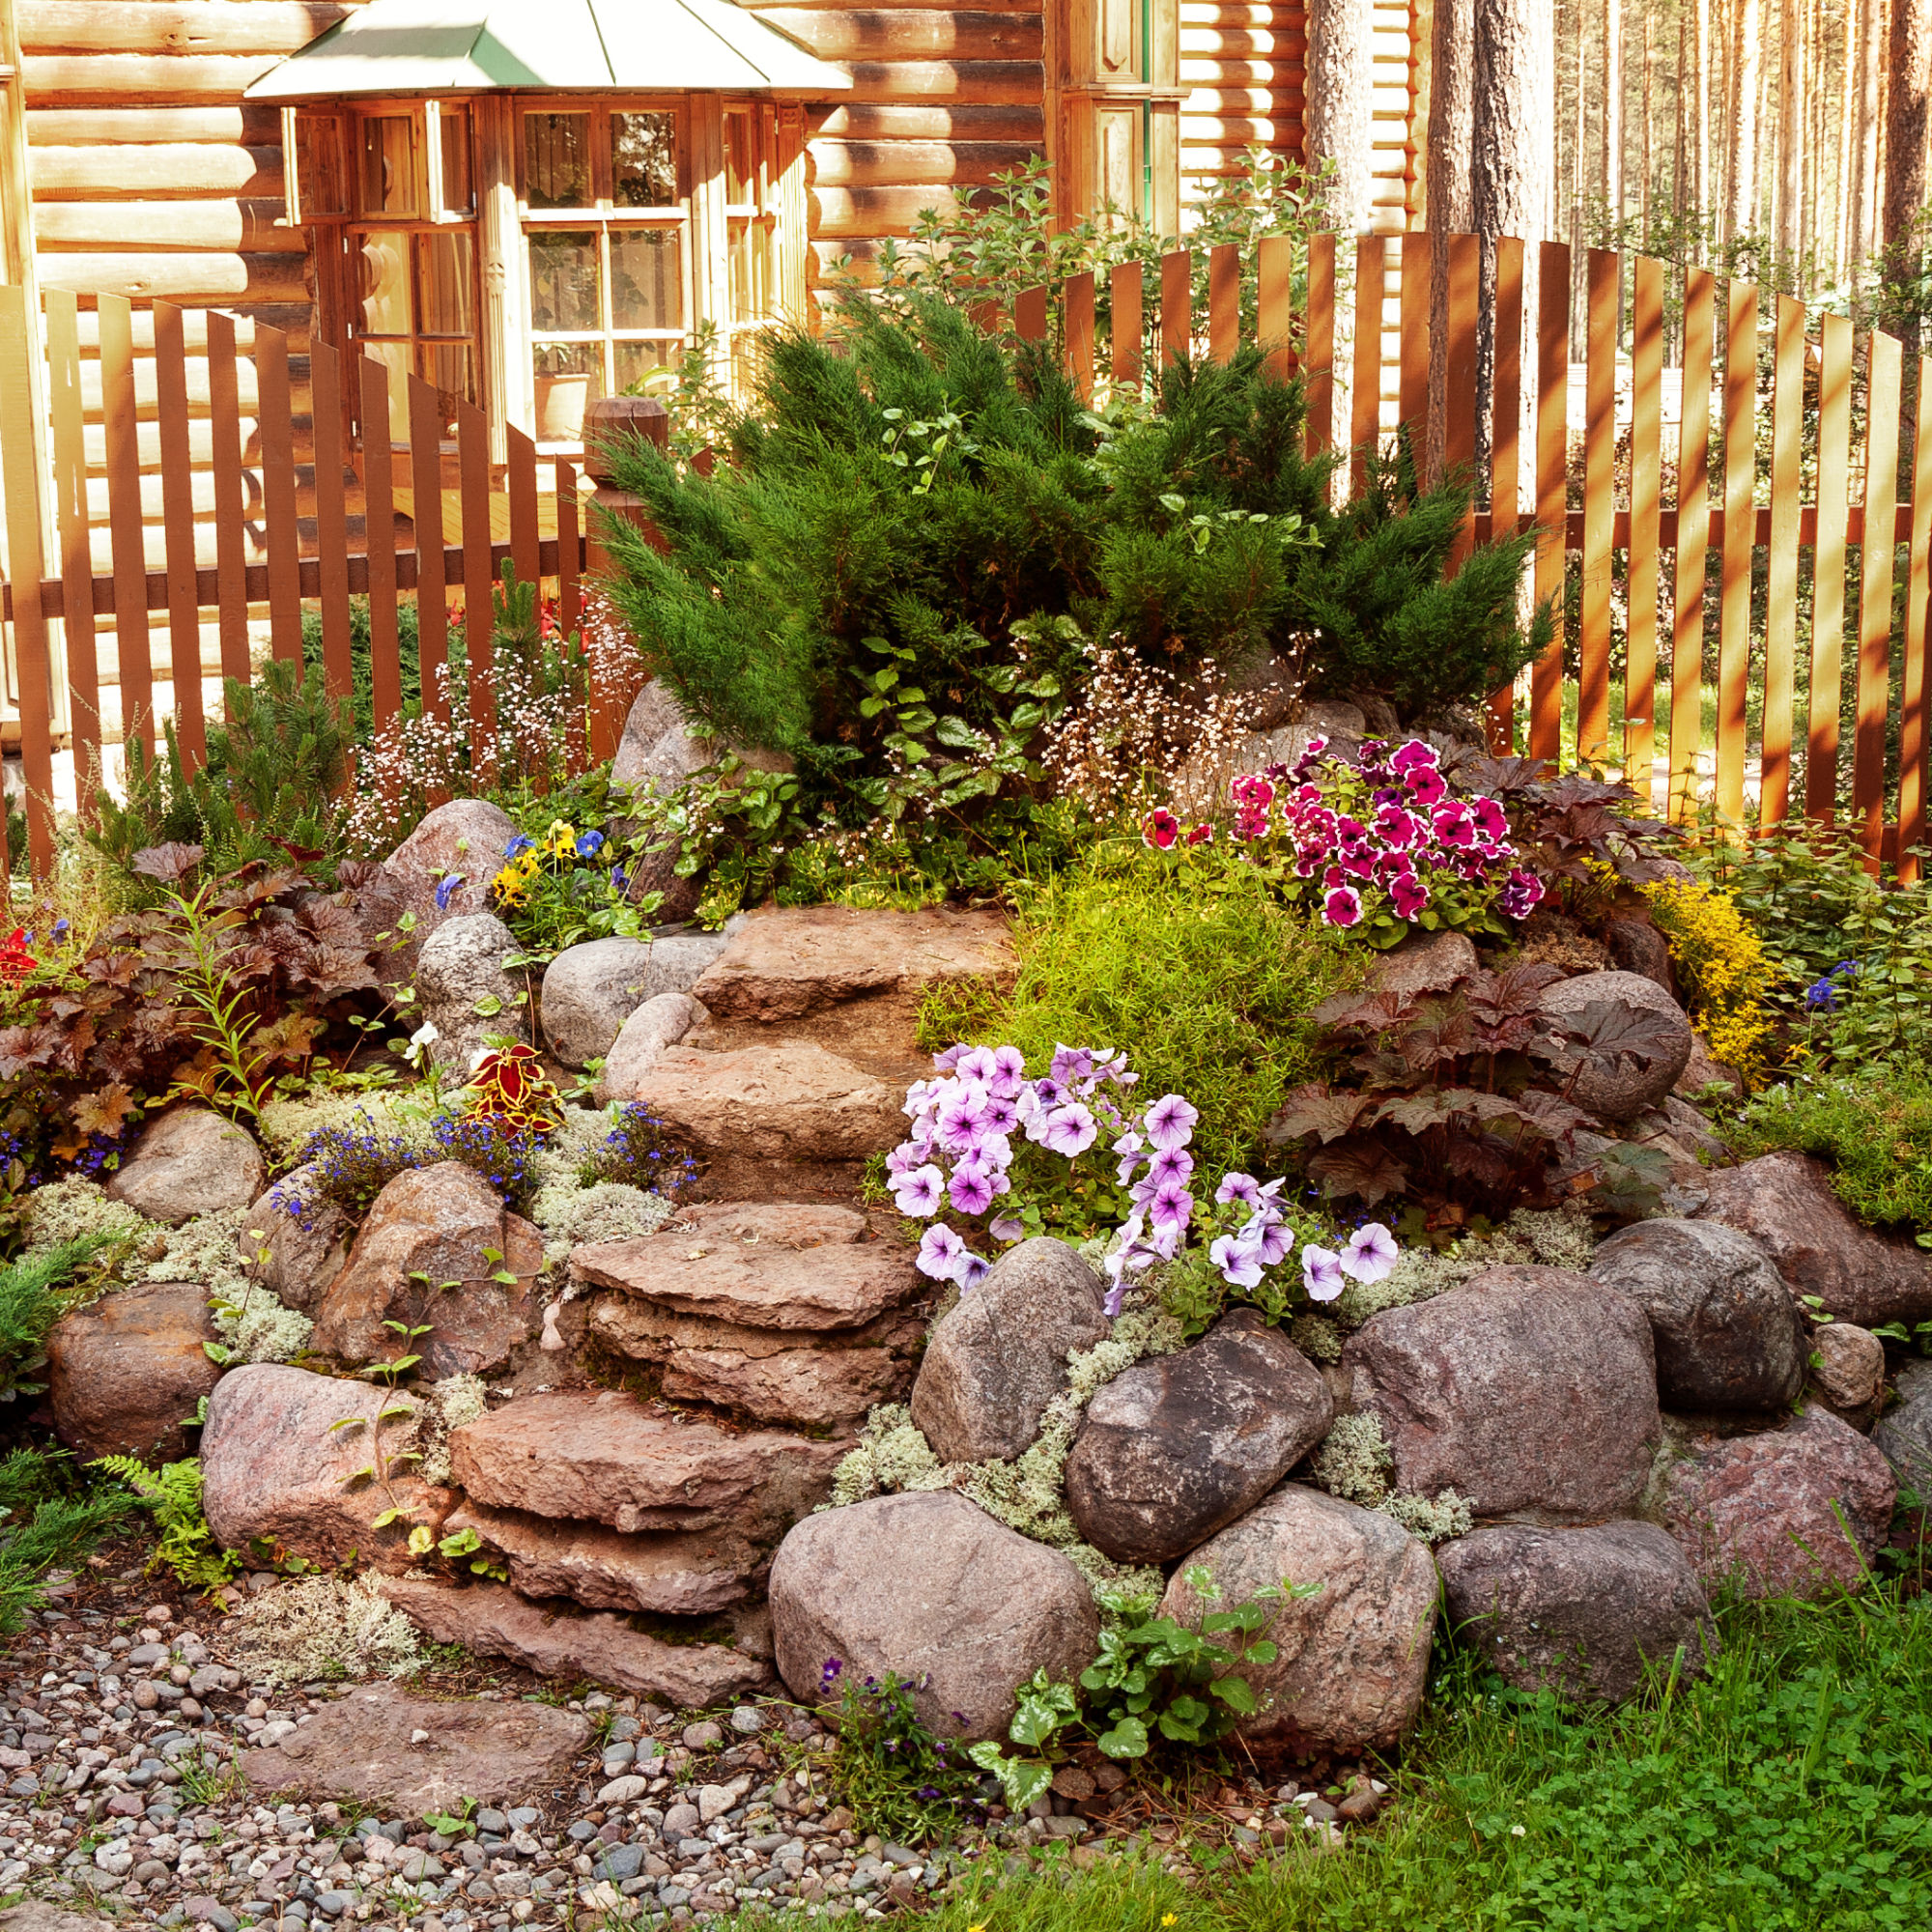
Enhancing With Plants And Lighting
Stacked stone garden borders create strong lines around your garden. You can make them look better by adding plants and lighting.
Plants bring color and life to stone borders. Lighting adds beauty and safety at night.
Selecting Complementary Plants
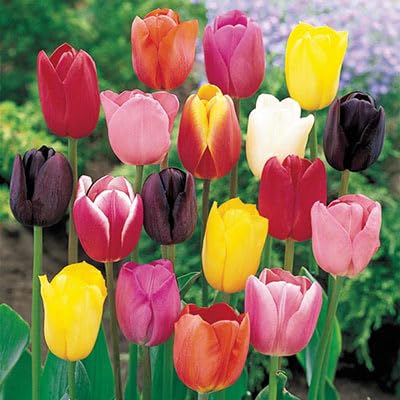
Choose plants that match the style of your stone border. Pick plants with colors that stand out against the stones.
Use plants with different heights and textures to add interest. Mix flowers, shrubs, and grasses for variety.
- Low-growing plants highlight the stone edge
- Tall plants add depth behind the border
- Plants with bright flowers add color
- Evergreens provide year-round green
- Choose native plants for easier care
Adding Ground Cover And Mulch
Ground cover plants fill spaces and reduce weeds near the stone border. They soften the hard edges of the stones.
Mulch keeps moisture in the soil and stops weeds. It also makes the garden look neat and tidy.
- Use creeping thyme or moss for ground cover
- Apply a layer of bark or wood mulch
- Choose mulch color that matches your stones
- Refresh mulch yearly to keep it fresh
Incorporating Garden Lighting
Use lighting to show off the stone border at night. Soft lights create a warm and inviting garden space.
Place lights to highlight plants and stone textures. Use solar or low-voltage lights for easy installation.
- Spotlights focus on key plants or stones
- Path lights guide visitors safely
- String lights add a gentle glow
- Use timers to save energy
Credit: www.gardeningknowhow.com
Maintenance Tips
Stacked stone garden borders add beauty to any yard. Keeping them clean and well cared for helps them last longer.
Proper maintenance prevents damage and keeps your garden looking neat all year.
Cleaning And Repairing Stones
Clean stacked stones regularly to remove dirt and moss. Use a soft brush and water to avoid damage.
Check stones for cracks or loose pieces. Replace or fix damaged stones quickly to keep the border strong.
- Use mild soap and water for cleaning
- Rinse thoroughly to remove soap residue
- Apply sealant to protect stones from weather
- Fix loose stones with outdoor adhesive
Seasonal Care Advice
Prepare your stone border for changing seasons. This prevents damage from weather conditions like frost or heavy rain.
Cover stones in winter if possible. Remove debris like leaves and branches in fall and spring.
- Clear dirt and leaves before winter
- Check for loose stones after storms
- Seal stones in dry seasons to avoid cracks
- Avoid heavy snow buildup on the border
Preventing Weed Growth
Weeds can grow between stacked stones, damaging the border and making it look messy.
Use simple ways to stop weeds from growing and keep your garden border clean.
- Place a weed barrier fabric under the stones
- Remove weeds as soon as you see them
- Use mulch around the border to block weed seeds
- Apply natural weed killers safely if needed
Cost And Time Estimates
Building a stacked stone garden border adds beauty to your yard. Understanding costs and time helps you plan better.
This guide covers materials, labor time, and choosing between DIY or professional help.
Budgeting Materials
The main cost is the stacked stones. Prices vary by stone type and size. Other materials add to the total cost.
You also need sand, gravel, and sometimes mortar. These help set the stones firmly in place.
- Stacked stones: $5 to $15 per square foot
- Sand and gravel: $1 to $3 per square foot
- Mortar (optional): $3 to $6 per square foot
- Tools (if not owned): $20 to $100
Labor Time Considerations
Labor time depends on the border size and skill level. Small projects take less time than large ones.
Preparing the ground, placing stones, and finishing edges take most of the time.
- Small border (10-20 feet): 4-8 hours
- Medium border (20-40 feet): 1-2 days
- Large border (40+ feet): 2-4 days or more
Diy Vs Professional Help
Doing the work yourself saves money but takes more time. You need some skills and tools.
Hiring professionals costs more but they finish faster and with good quality.
- DIY: Lower cost, longer time, learning opportunity
- Professional: Higher cost, shorter time, expert results
- Consider your budget, skills, and schedule
:max_bytes(150000):strip_icc()/Goodbodygardenwalldetail-ee027a9ab22a41b3a48e91f51c45caa8.jpg)
Credit: www.marthastewart.com
Frequently Asked Questions
What Are The Benefits Of A Stacked Stone Garden Border?
A stacked stone garden border adds natural beauty and texture to your landscape. It defines garden areas, controls soil erosion, and improves drainage. It is durable, low-maintenance, and enhances your garden’s overall aesthetic appeal.
How Do You Install A Stacked Stone Garden Border?
Start by planning the layout and clearing the area. Dig a shallow trench, place a base layer of gravel, then stack stones tightly. Use a level to ensure evenness and fill gaps with soil or mortar for stability.
Which Stones Are Best For Stacked Stone Garden Borders?
Choose durable, weather-resistant stones like slate, limestone, or sandstone. These stones are easy to stack, resist cracking, and blend well with natural surroundings. Their varied colors and textures create a visually appealing garden border.
How Much Does A Stacked Stone Garden Border Cost?
Costs vary based on stone type, size, and border length. On average, materials range from $10 to $25 per linear foot. Installation by professionals may add labor costs, typically $30 to $50 per hour.
Conclusion
Stacked stone garden borders add charm and structure to any yard. They keep plants neat and create clear edges. These borders suit many garden styles and last for years. Easy to build and maintain, they save time and effort. Choose stones that fit your garden’s look and size.
With simple care, your border will stay beautiful. A stacked stone border makes your garden feel complete and inviting. Try it and enjoy a tidy, natural space outdoors.